Frying Chicken Wings
Piping hot, just minutes out of the fryer and served with blue cheese dressing and celery, this is how Buffalo wings are meant to be served.
When you order wings in Buffalo, NY, they are deep fried because it produces the best results: crispy skin on the outside and perfectly cooked juicy meat on the inside. This article focuses on the frying process used to make traditional Buffalo wings at home.
OIL TEMP
375°F
FRY TIME
7-15 min
DIFFICULTY
Medium
Fried Wing Theory 101
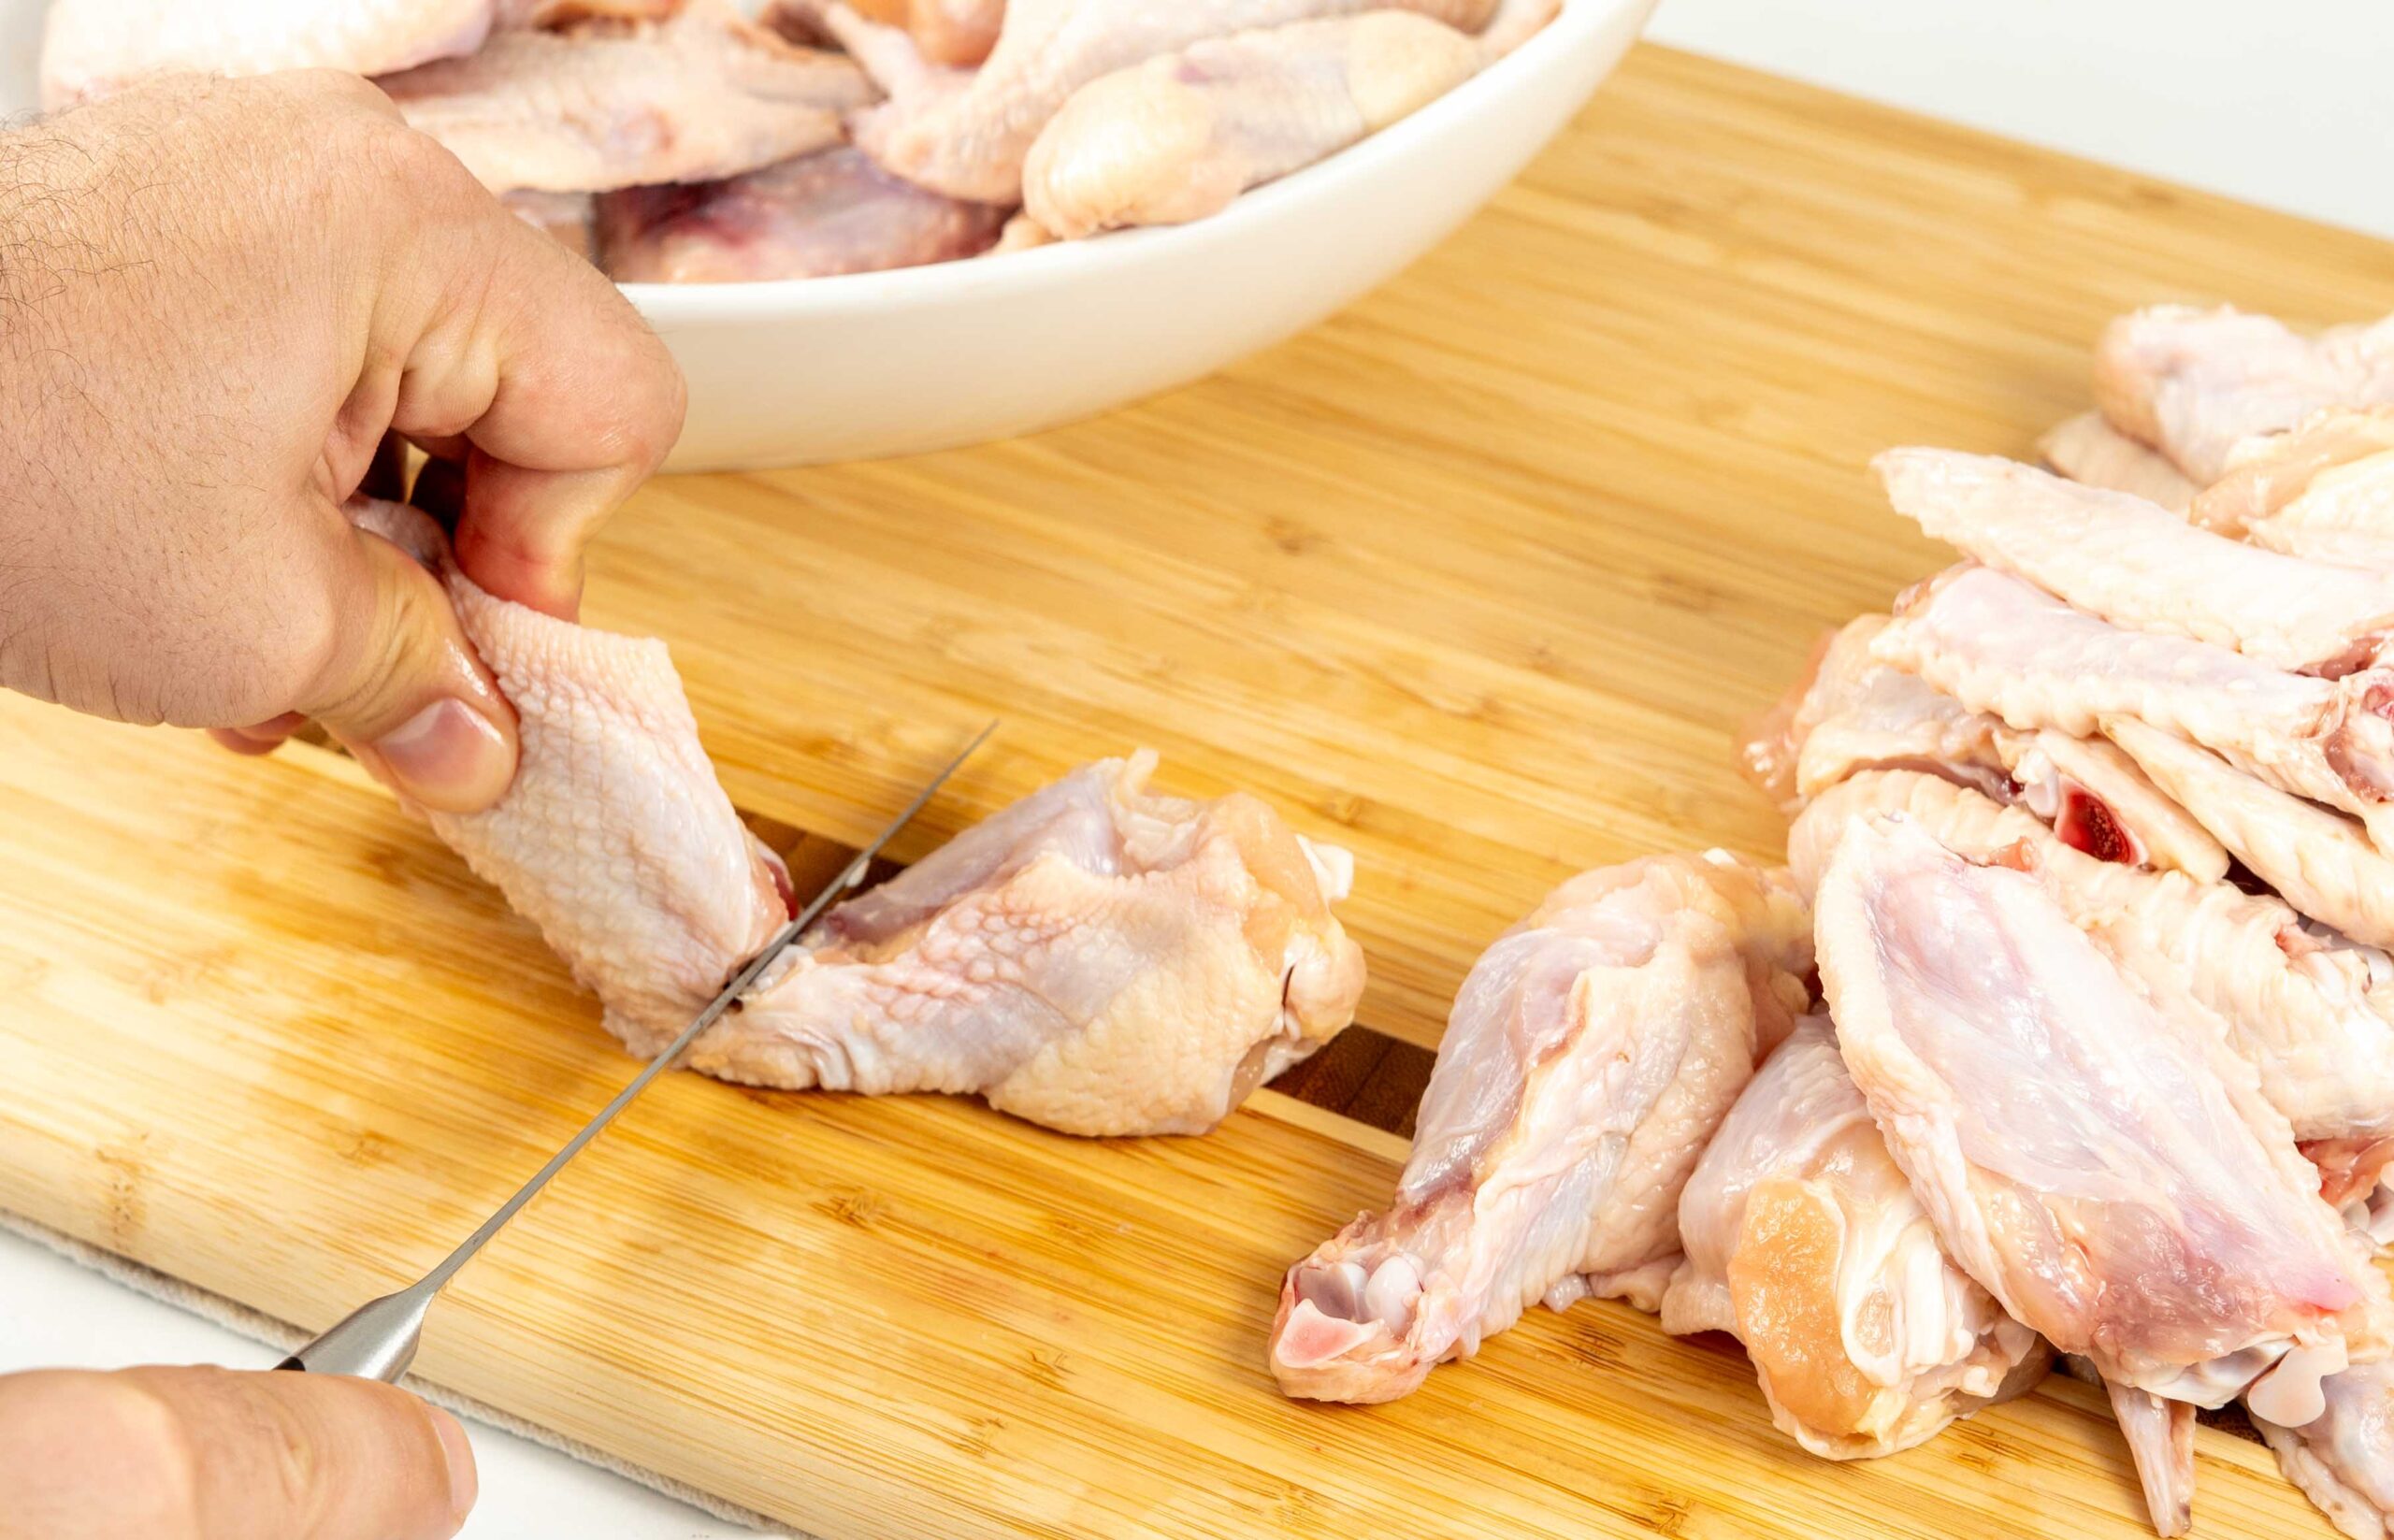
Frying great Buffalo wings starts before frying. Prep should not be overlooked or rushed. If frozen, defrost the wings and, if whole, cut them into sections.
These first two steps give you raw drums and flats full of potential and ready for the highest honor a chicken wing can achieve, becoming a Buffalo wing.
The next steps are seasoning and drying. Salt adds flavor and also helps pull moisture from the skin during drying.
Drying is about removing water early and has more benefits than you probably realize. By removing moisture, mostly from the skin, it helps crisp the skin in the fryer. As the skin dries, it also tightens, shrinks and seals around the meat, helping keep hot oil from getting under the skin and overcooking the meat.
Once in the fryer, hot oil continues removing moisture by rapidly heating the water inside the wings until it escapes as steam. If the oil temperature drops too low during frying, moisture will remain trapped, leading to softer, less crispy skin.
There is actually a lot more happening during frying than simply removing water. Fat renders, proteins change and countless other reactions take place. But for us to make better Buffalo wings at home, understanding how water affects the skin and meat is all you really need to know.
Oil Temperature
Debbie’s Wings, Part One
Debbie loves two things more than anything else, her cat, Winston and Buffalo wings. Winston also loves wings.
One day Debbie decides it’s finally time to make Buffalo wings herself. She sets up her new fryer, fills it with oil, heats it up, and adds the wings.
When the timer goes off, she drains and sauces the wings, then adds them to a plate already waiting with blue cheese dressing and celery. It’s finally time! Smiling ear to ear, she grabs the best looking wing, scoops up a nice glob of blue cheese dressing, and takes a bite.
Her smile now gone. “@#$%! Where is the crunch?”

What went wrong? The oil wasn’t hot enough.
Oil temperature is the most important factor when frying Buffalo wings. A frying temperature of 375°F is a good starting point, but when wings are added, the oil temperature should not drop too much and must be able to recover quickly. If the temperature is too low for too long, the wings will likely cook through, but their texture will suffer.
What often happens is the wings go in and the timer gets started. But if too many wings are added at once, the oil temperature quickly drops and doesn’t recover enough to crisp the skin. Leaving them in longer at the lower temperature may eventually crisp the skin but risks drying out the meat.
The solution is usually not frying longer. It is reducing the batch size until the fryer can maintain proper cooking temperature.
Debbie’s Wings, Part Two
The next time, using a thermometer, Debbie does a few test batches starting with just a few wings and adding another wing each batch. She finds that with her frying setup, when she adds only 7 wings (1/2 pound), the oil temperature still drops but quickly recovers into a good frying range. The wings now come out with crispy, blistered skin and moist meat, just like good Buffalo wings should. She has to cook a couple of extra batches, but it is totally worth it. In the end Winston never does get a chicken wing but Debbie gets the crunch she was looking for.
The important lesson here is that oil temperature matters. A timer is an important tool, but it won’t do all the work and can’t help cook perfect wings until you know how long to set it for.
Frying Oils
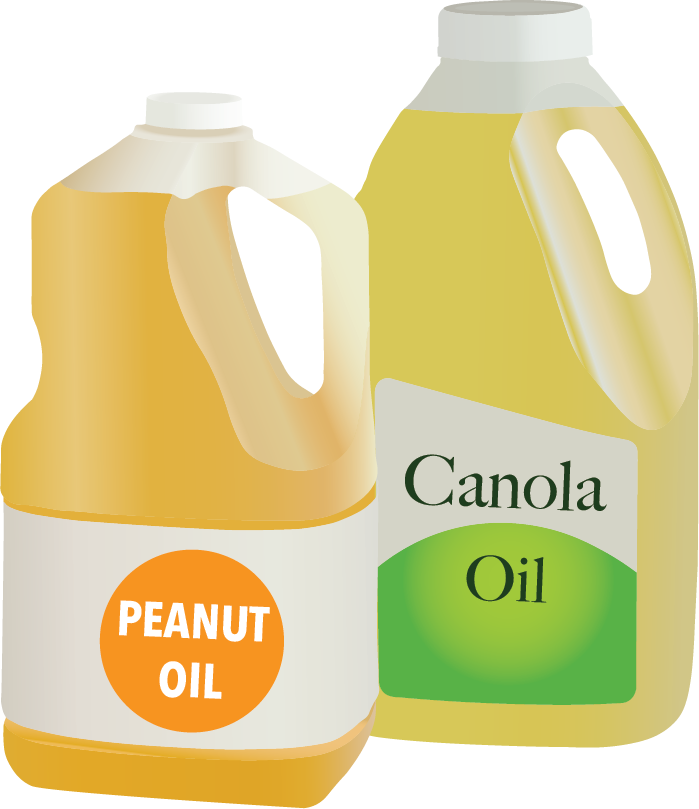
There are many oils that will work for cooking Buffalo wings. We will get into more detail in the upcoming oils article.
- Refined peanut oil: This is favored by most people. It’s more expensive than other options, but its saturated fat percentage and high smoke point make it ideal.
- Canola oil: This is my second choice. It is easy to find and less expensive.
- Frying or vegetable oil: This is cheaper and usually a combination of whatever oils are cheapest at the time.
Any of these oils can make great Buffalo wings when used correctly.
Frying Systems
Many different deep frying systems are available and each has its own strengths and weaknesses. If you don’t own a fryer, a large pot with a good thermometer is a great place to start. Many reasonably priced home fryers are also available at local and online stores. You can find the fryers and frying equipment I use on the Gear page. (link)
Frying chicken wings isn’t difficult, but consistently good results depend on quality ingredients, proper equipment and proper technique. Your fryer’s oil capacity and ability to maintain heat will determine how many wings it can effectively cook at a time.
Chicken wings usually take anywhere from 7 to 15 minutes to cook, but it is impossible to give an exact frying time because every frying situation is different. Fry time depends on many variables including fryer power, oil capacity, wing size, weight and temperature, batch size and ambient air temperature and humidity. The mood of the Buffalo wing gods needs to be considered too.
Know Your Fryer
When using a new frying system for the first time, work out the kinks and learn its capabilities by doing a few test batches. If the wings do not crisp up or take too long to cook, add fewer wings next time. Do this until you find the right balance of batch size and frying time for your fryer.
When learning your fryer, it is better to go by mass (weight) rather than the number of wings. The more food you add, the harder the fryer has to work, and not all wings are the same size. So, 10 wings today may not be the same as 10 wings next time. They might be much larger and place a greater demand on the fryer. However, 1 pound of wings this week will still be the same 1 pound of wings next week. In other words, fryer capacity is impacted more by total weight than wing count.
Basic Frying Method
This is the basic, no frills method for frying chicken wings at home. You can see the full Buffalo Wing Guide and Recipe here. (link)
- Prep the wings using the methods discussed earlier. At a minimum, they should be thawed, divided, salted and dried with paper towels before frying.
- Heat your fryer oil to 375°F.
- Add the chicken wings to the oil by either lowering the fryer basket or carefully placing them into the oil one at a time with tongs or a wire scoop.
Note: Wings will often stick to fryer baskets. To help prevent this, lower the basket into the hot oil empty for a minute or two to heat it up. Then add the wings to the basket and lower it into the oil. Keep the wings moving with tongs for the first minute or two of frying before the skin firms up. Do not force them loose or you risk tearing the skin. If wings do stick to the basket, it is better to let them fry stuck on and gently remove them after cooking. Tearing the skin after cooking will not have a major impact on quality.
- Use a timer as a guide and fry until the wings are blistered and light golden brown.
- Using the fryer basket, tongs or a wire scoop, remove the wings from the oil.
- Allow the wings to drain over a wire rack or paper towels.
Frying for a Crowd
When frying for a large group of people, you are limited by the size and power of your fryer. The more people you are cooking for, the harder it will be to keep up. Here are a few tips and techniques that make that a non-issue.
- Take your time working in batches your fryer can handle. There is no point putting out more wings faster if no one wants to eat them. Take the time to do it right.
- Have other foods available such as lots of celery and blue cheese dressing, potato chips and bison dip, beef on weck, sponge candy and cup and char pepperoni pizza.
- When sauced and plated, quickly put the wings in a central location where people can easily get to them. This actually works in your favor. The wings become something people look forward to instead of taking for granted and, because you took your time and did it right, they are worth the wait.
- Par cook (double fry). Partially cooking the wings ahead of time can reduce the final cooking time for each batch to as little as 2 to 3 minutes.
Frying from Frozen
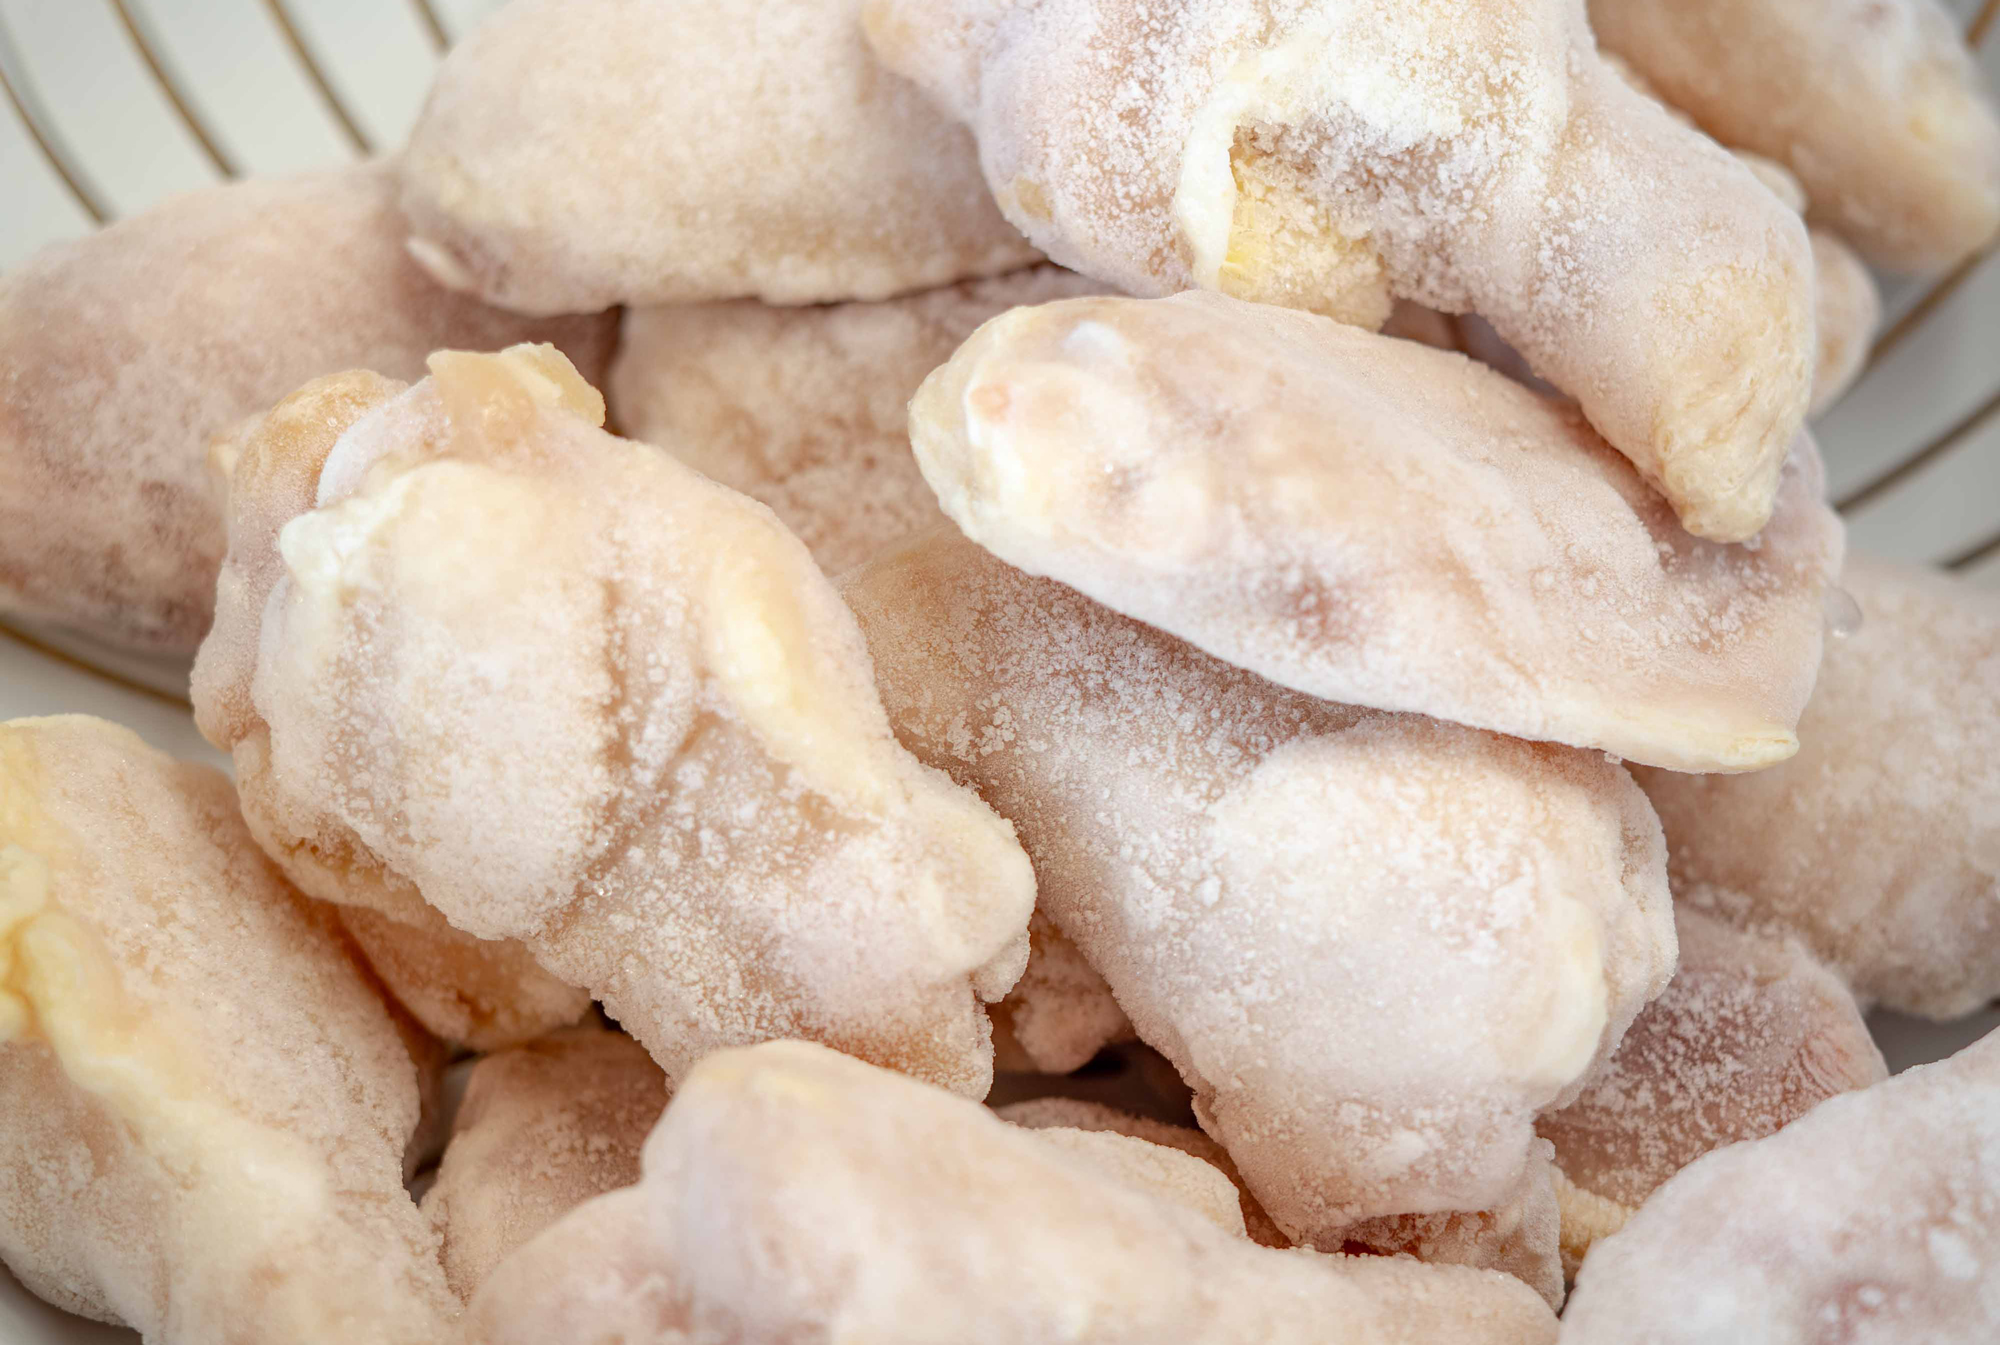
Deep frying frozen chicken wings is possible but I do not recommend it for home frying. Many restaurants do it successfully because commercial kitchens use large powerful fryers designed to handle the aggressive bubbling, splattering and rapid temperature drop caused by frozen wings. Most home frying setups are not. Thawing the wings first and following the methods discussed earlier will give you a much better chance of making great Buffalo wings safely at home.
Frying can be dangerous. Hot oil, peanut allergies, raw chicken handling and other risks should be taken seriously. Use common sense and follow recommended safety practices for your frying setup.
I am not a safety authority and this article is not intended to replace proper safety guidance. For more information, see the full Safety Disclaimer here.