Buffalo Wing Hot Sauce

Buffalo Wing Hot Sauce

Buffalo Wing Hot Sauce

Without the right sauce, they're just fried chicken wings, and calling them Buffalo wings would be a lie. No need to lie, Buffalo wing sauce is super easy to make at home.

It's simply cayenne pepper sauce and butter, two ingredients that have been making great Buffalo wings for decades.

You can make Buffalo wing sauce with any cayenne pepper sauce, but I believe Frank's RedHot is the best choice for traditional Buffalo wings. It's what I grew up using in Buffalo, it's what most restaurants use, and it's still the one I prefer most. In fact, I went most of my life having no idea there were other options available. Once I tried the other options, I quickly realized there were no other options available.

3 parts Frank's to 2 parts butter is the standard medium heat Buffalo wing sauce ratio, and it's the version I recommend. This base recipe produces a medium spice level that is just right for most people and serves as a great starting point for making adjustments. I think this is the perfect balance of butter and Frank's. It tastes great and, though it does have a bit of heat, most people would not find it too spicy. This makes it ideal for groups with different tastes and spice tolerance. We'll discuss how to adjust the spice level later.

Premade Wing Sauce

There are many premade wing sauces available, some good and some less good. If you are short on time, find one you like, warm it up on the stovetop, and you are good to go.

If you have time, nothing is better than the sauce you make yourself. It's quick and easy with only two ingredients: Frank's and butter.

Butter

Franks brings the spice and flavor, but butter makes everything better, and Buffalo wing sauce is no exception. Butter is the x factor people can't quite place, and they are often surprised to learn that Buffalo wing sauce is nearly half butter.

Salted vs Unsalted Butter

Short version: use unsalted butter.

Why? Frank's already contains plenty of salt, and you will have already salted your wings before frying. We don't need any more salt in the sauce.

If all you have is salted butter, use it. Most people will never notice the difference.

Clarified Butter

Clarified butter is butter that has gone through a process to remove the milk solids and water. When done, you are left with almost pure butterfat.

Is clarified butter better? Is it worth the effort? It depends on who you ask. If you ask me, I say it depends.

When melted butter and clarified butter are tasted side by side, there are some subtle flavor differences. However, if you make the sauce using clarified or unclarified butter, most people won't be able to tell the difference when eating their wings.

Melted butter has been commonly used in Buffalo since the recipe was created, and most restaurants still use it today.

The main advantage of using clarified butter is that the Buffalo wing sauce is more stable. When cooking wings over an extended period of time and the sauce temperature is raised and lowered several times, the sauce is less likely to break (separate) when made with clarified butter.

Ghee is another name for clarified butter. It is shelf stable and available in most grocery stores. This is a great way to use clarified butter without the time and effort involved in making it yourself.

Don't overthink it. If you're not sure, just use plain butter. You won't regret it. But whether you use regular butter or clarified butter, both will produce excellent results.

Mixing and Heating

The process of making the sauce is minimal. Simply warm the butter until just melted, remove it from the heat, add the Frank's, and whisk until the sauce is uniform in color and texture.

Don't Overheat the Sauce

Prevention is easier than repair. Frank's and butter is actually very forgiving and can handle some heat, but excessive or prolonged heat is unnecessary and may eventually damage the sauce.

Overheating will eventually lead to one of two problems: burning, which leaves a bad taste, or breaking, which causes the sauce to separate.

Uh Oh, I Overheated the Sauce

Burned taste: There is nothing that can reverse a burned sauce. Toss it and make a new batch.

Separated sauce: If your sauce is separated, try letting it cool a bit, then whisk it vigorously. If that doesn't work, add a little Frank's or water and try again. If that still doesn't work, you can try other emulsifiers such as mustard, but they will affect the taste.

Reheating the Sauce

Do it gently. Use low heat, stirring frequently, and stop as soon as the sauce is hot and uniform.

Choosing Spice Levels

Everyone has their own spice tolerance and preference. Sometimes it's cultural. If you grow up eating spicy food, chances are you'll enjoy foods with a little more heat. Other times it becomes a social thing, almost a competition, where people take pride in being able to handle more heat than everyone else.

Mostly I try to create wings that will work for everyone. Some people love heat and think that the hotter the better. I used to be in that category, but as my wing palate has matured, I have become more focused on flavor and making wings that most people will enjoy, not just a few.

I believe the medium sauce recipe, as found below, achieves the perfect balance and is the version I recommend. It is a delicious example of classic Buffalo wing flavor and hits the sweet spot with just enough spice that most people can comfortably enjoy it. For those who want to adjust the spice level, let's talk about how to get there.

Adjusting the Spice

Adjusting the spice level is as simple as adjusting the butter to hot sauce ratio.

  • Mild: 1/2 cup Frank's, 3/4 cup butter
  • Medium: 3/4 cup Frank's, 1/2 cup butter
  • Hot: 3/4 cup Frank's, 1/4 cup butter

When making wings for young children, I will often use only butter or butter with a splash of Frank's. Though technically not Buffalo wings, the kids don't know that or care because perfectly fried chicken wings covered in butter are delicious.

Adding Even More Spice

Classic wisdom says to make Buffalo wings spicier, add more Frank's. This works, but there is a downside. More Frank's means less butter, and butter is delicious.

If you want even more heat without giving up the butter, there are other options. Frank's XTRA Hot, powdered cayenne pepper, and capsaicin extract can all increase the heat level while maintaining a buttery sauce.

These methods can dramatically increase the heat level and deserve a deeper discussion than this article allows. We'll cover them in a future article.

Suicide Wings

When trying to create a Buffalo sauce that is extremely hot, you quickly discover that cayenne pepper has its limits. For this reason, many suicide wing sauces no longer taste like traditional Buffalo wing sauce. In fact, depending on how they are made, they may not even technically qualify as Buffalo wings according to the definition used throughout the BuffWing website because they no longer contain cayenne pepper sauce or, in some cases, even butter.

Cooking for a Crowd

When cooking for a group, medium is the magic sauce that works for almost everyone, but don't feel like you need to choose a single spice level and force everyone to eat it. Buffalo wing sauce is quick and easy to make, so I often prepare multiple bottles with different spice levels. This allows everyone to get their wings exactly how they like them.

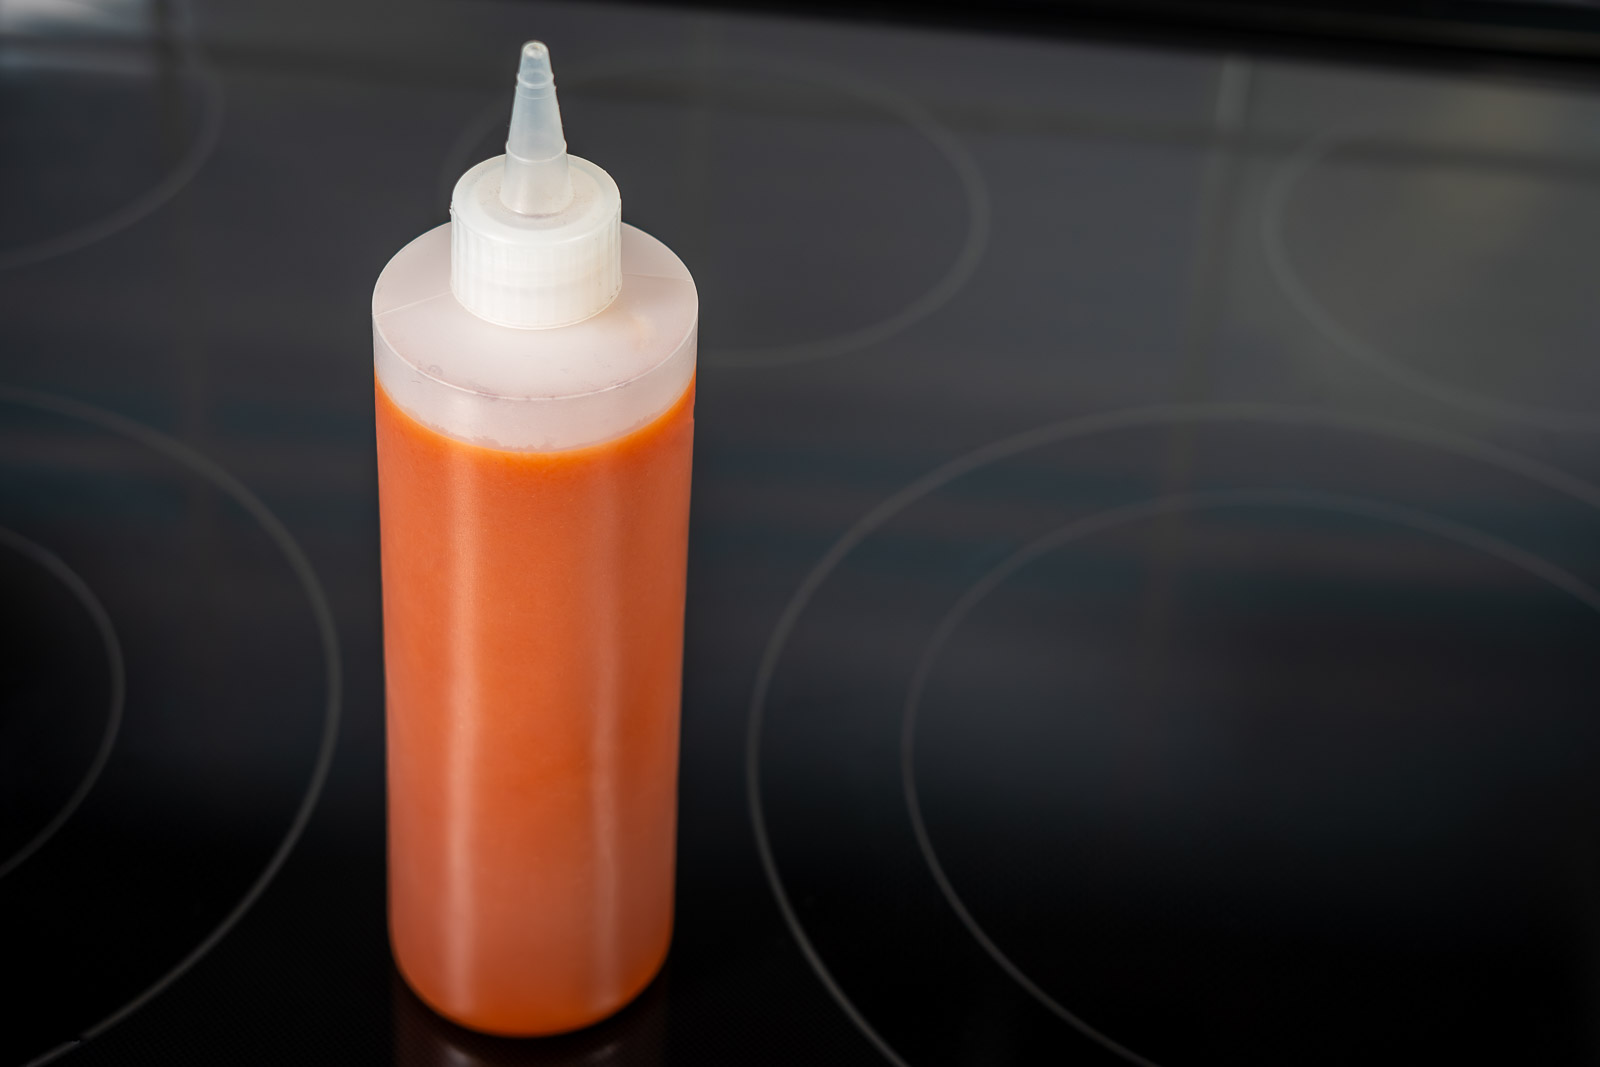
Squeeze bottles work especially well for this. Label each bottle and keep them warm so everyone can choose their own heat level.

Saucing

Learn More: Saucing Chicken wings

Have the sauce ready before the wings are cooked. The last thing you want is to be making sauce at the last minute while the wings are getting cold.

Tip: Use Squeeze Bottles

Squeeze bottles are inexpensive and the perfect tool for sauce management. They allow you to have your sauce prepped and ready to quickly and accurately apply it to hot, fresh wings exactly when you need it.

Closing Thoughts

Buffalo wing sauce is simple to make, but the details matter. If cooking for a crowd, remember that the goal is to make something everyone will enjoy, so know your audience.

You can't go wrong with the recommended medium recipe for a group with varying tastes. Better yet, prepare multiple bottles with different spice levels so everyone can get their wings exactly how they like them.

Don't overheat the sauce, have it ready when the wings are done, and use a squeeze bottle for easy application. Follow those simple guidelines and you can expect a smooth saucing experience.

Buffalo Wing Hot Sauce

Recipe by BuffWing.com
0.0 from 0 votes

This recipe makes a medium heat Buffalo wing sauce. See the notes below for ways to adjust the spice level.

Course: SauceCuisine: AmericanDifficulty: Easy
Servings
+
-

8

servings
Prep time

3

minutes
Cooking time

5

minutes

Ingredients

  • 3/4 cup cayenne pepper sauce (Frank's RedHot)

  • 1/2 cup unsalted butter

Directions

  • In a medium saucepan, heat the butter until just melted. Remove from heat.
  • Add the cayenne pepper sauce and whisk until the sauce is uniform in color and texture.
  • Use right away to sauce wings or transfer to a squeeze bottle for easier application and portion control. It's also a great way to store unused sauce in the fridge.

Recipe Video

Notes

  • To adjust the heat, the classic method is to increase the cayenne pepper sauce for more spice or decrease it for less spice.
    Mild: Use 1/2 cup cayenne pepper sauce and 3/4 cup butter.
    Hot: Use 3/4 cup cayenne pepper sauce and 1/4 cup butter.
  • For even more heat, try replacing original Frank's with Frank's XTRA Hot, adding some powdered cayenne pepper, or, if you're feeling very bold, pepper extract. Use caution with that last one.
  • Do not overheat the sauce. Excessive heat can cause the sauce to separate or develop a burned taste.
Blue Cheese Dressing for Buffalo Wings

Blue Cheese Dressing for Buffalo Wings

Blue Cheese Dressing

I Love Blue Cheese Dressing

This is my go to homemade blue cheese dressing for Buffalo wings, parties, and anything else that deserves a better dip.

I could have called this website Blue Cheese Dressing (and Buffalo Wings Too) and it would have been accurate.

In Buffalo, it's rare to hear someone call it blue cheese dressing. We always call it blue cheese. If someone asks if you want blue cheese with your wings, they're talking about the dressing, not the cheese itself. From this point on, I'll mostly call it blue cheese too.

I really do love blue cheese.

It’s amazing and mandatory with wings. It’s also great on pizza, french fries, salads, and almost anything else.

My wife has even caught me eating it straight from the jar with a spoon (or my finger) more than once. Yes, it’s embarrassing, but I can’t help myself.

In fact, it’s enough of a problem that I’ve actually created a rule: I only make what will be eaten with that meal, or I send the leftovers home with guests.

How it Started

Blue cheese was always around when I was growing up, but honestly, I didn’t appreciate it nearly enough as a kid. I liked it with wings, but that was about it. At home, there was usually a bottle of store-bought in the fridge for salads, but it never tasted as good as the little round tubs that came with delivery wings.

But the stuff at Grandma’s house was always the best. Once I learned how she made it, there was no going back.

I’m not sure how old I was when Grandma Fran taught me how to make it. Thirteen would be my best guess. There were no written measurements and no recipe card.

It was blue cheese, equal parts sour cream and mayo, some garlic powder, enough white vinegar to make it look right, plus a bit of sugar to balance it. Then she would taste it and adjust from there.

Honestly, I never bothered measuring anything until I finally started writing down recipes properly for use on this website and in my upcoming book, The Perfect Buffalo Wing.

Building the Recipe

When I started creating structured recipes, I wanted to turn my homemade blue cheese dressing from something I made by feel into something people could actually follow.

So I gathered all the supplies: ingredients, measuring cups and spoons, bowls, spatulas, a legal pad, and a pen. Then I made a batch the way I normally would, but this time I measured each ingredient before adding it and wrote it all down.

The first challenge was immediately obvious. Unlike cream cheese or butter, blue cheese is sold in all kinds of package sizes with no standard. That doesn’t matter when I’m making it by feel. I can look at the cheese and think, “That’s not much blue cheese, so I’ll use less of everything else.” But that instinct doesn’t translate into a written recipe, so “one package” means nothing.

For my first batch, I bought a wedge-shaped plastic container of blue cheese I already knew was good quality. It was a 5.5-ounce package, and once I measured everything out, I realized the recipe needed to be based on the right proportion and what tasted right, not whatever size package happened to be on the shelf.

My first measured version was good, but not quite right. It had too much vinegar, and the blue cheese flavor wasn’t strong enough. I added more blue cheese and it improved right away. A bit of sugar balanced the acidity.

After that, over the course of a few months, I made more batches, adjusting the ingredients each time and luring test subjects to my house with promises of Buffalo wings.

The final result is heavy on blue cheese, light on vinegar and garlic, with just a little sugar.

Lessons Learned

Great Blue Cheese Makes Great Blue Cheese

Use high-quality blue cheese whenever possible. The best you can find (or afford) is usually the right choice. Blue cheese comes in all shapes, sizes, and qualities, so one variety may work perfectly for this recipe while another may be so strong or so mild that you need to adjust the amount.

Soft, flavorful blue cheese tends to work best, while some dry and crumbly varieties can be weak and leave you with a disappointing result. Some blue cheeses are simply unsuitable and, no matter how much you add, the dressing will still fall short of what is required to honor your perfect Buffalo wings.

Beware: there are some very bad blue cheeses out there, more like moldy cardboard than cheese, and there is no fixing blue cheese once it has been contaminated by bad blue cheese.

Chunk Size Matters

If the chunks are too small, the dressing becomes smooth and boring. If they’re too large, they won’t scoop well onto the wings.

Aim for small to medium chunks. I find crushing the blue cheese with a fork until the largest pieces are somewhere between the size of a pea and a pistachio works well.

Garlic: Fresh or Powdered?

I believe fresh garlic gives the best flavor, but garlic powder works just fine. If substituting, use about 1 teaspoon of garlic powder for each fresh clove.

This recipe keeps the garlic balanced for most people, but if you’re a garlic lover, don’t be afraid to push it further.

It Gets Better With Time

Blue cheese is good right away, better after a couple of hours, and best after a night in the fridge.

Mayo Matters

Use a good mayonnaise. Cheap mayo can sometimes contain a flavor that drags the whole recipe down. I usually use a popular national brand found almost everywhere, and it works great.

I’ve made my own a couple of times, and it made the blue cheese even better. However, it takes extra work, and over time, homemade mayo doesn’t stay emulsified as well as store bought so you may notice some separation after a couple of days.

I’ve never actually experienced that myself, since blue cheese never lasts that long in my house.

Bold Variations

Personally, I love a strong blue cheese dressing, and I rarely make it exactly the same way twice. I generally use more garlic, skip the sugar or swap it for maple syrup or honey, replace white vinegar with balsamic or red wine vinegar, add bacon crumbles, or mix different blue cheeses.

If it’s just you, have fun with it and get a little crazy. Just no Ranch dressing. Being from Buffalo, that’s not okay.

Why This Version Won

After months of experimenting and luring people over with promises of Buffalo wings, this is the version that won. It’s thick and easy to pile onto a wing with one scoop. It uses plenty of blue cheese, which is what it should taste like, without so much garlic or vinegar that it puts people off.

Overall, people have loved this version.

Blue Cheese Dressing for Buffalo Wings

Blue Cheese Dressing for Buffalo Wings

Recipe by BuffWing.com
0.0 from 0 votes
Course: Condiment, DipCuisine: American, BuffaloDifficulty: Easy
Servings
+
-

8

servings
Prep time

10

minutes

Homemade blue cheese dressing for Buffalo wings that’s thick, creamy, and loaded with flavor.

Ingredients

  • 6 oz blue cheese

  • 3/4 cup mayonnaise

  • 3/4 cup sour cream

  • 2 tbsp white vinegar

  • 2 cloves fresh garlic (finely minced)

  • 1/2 tsp sugar (optional)

Directions

  • In a large bowl, crush the blue cheese with a fork into small to medium chunks.
  • Add the remaining ingredients and mix until combined, leaving some blue cheese chunks intact.
  • Enjoy immediately, but for best flavor refrigerate at least 2 hours, preferably overnight. Store covered in the refrigerator.

Recipe Video

Notes

  • Use good blue cheese: Quality matters. Soft, flavorful blue cheese works best.
    Thick and scoopable: This recipe produces a thick blue cheese that can be piled high on a Buffalo wing with a single scoop.
    Chunks matter: Too small, and the dressing becomes smooth and boring. Too big, and they won't scoop well.
    Garlic options: Fresh garlic is best, but 1 teaspoon garlic powder per clove works well.
    Better with time: Blue cheese is good right away, better after a few hours, best overnight.

How to Fix Your Blue Cheese Dressing

Allow the blue cheese to sit in the fridge for at least a couple of hours before judging it. Garlic and blue cheese need time to meld with the other ingredients.

  • If the flavor is too weak, add more blue cheese, garlic, or both.
  • If the flavor is too strong, add equal parts sour cream and mayo.
  • If it is too thick, add milk, half and half, or heavy cream, a little at a time, until it reaches the right consistency.
  • If it is too acidic, add a little sugar.
Celery Sticks for Buffalo Wings

Celery Sticks for Buffalo Wings

Why Celery?

Celery has always been part of the Buffalo wing experience, and for good reason. When at its best, it’s fresh, cool, crisp, refreshing, and exactly what you want to be eating between fried, spicy, buttery, hot Buffalo wings. Buffalo wings and celery are about as different as two foods can be, and I believe that is exactly why they work so well together. Opposites attract.

Celery also goes great with the other member of the support team: blue cheese. Eating celery and blue cheese dressing is a great way to pass time while the wings are cooking.

Sadly, celery often gets the short end of the stick (pun intended) and is treated as little more than decoration. Part of the problem is that many restaurants do not give celery the respect it deserves. When you are served a plate of glorious wings and there are just a couple of small, limp celery sticks off to the side, warm and covered in wing sauce, they are not very appealing to eat.

Many people clean every scrap of meat from the bones but leave the celery behind. I eat mine.

Choosing Celery

When shopping for celery, choose carefully. Fresh celery almost always tastes better and has more crunch.

I look for a vibrant green color and clean, firm stalks. If they have leaves, the leaves should be healthy and not wilted, dry, or slimy. As celery ages, it becomes limp and rubbery, its color starts to fade, and it loses much of the crunch that makes celery enjoyable to eat. It also develops imperfections on the stalks, including small dry spots and other blemishes. After cutting, fresh celery will be something people actually want to eat instead of leaving on the plate.

Prepping Celery

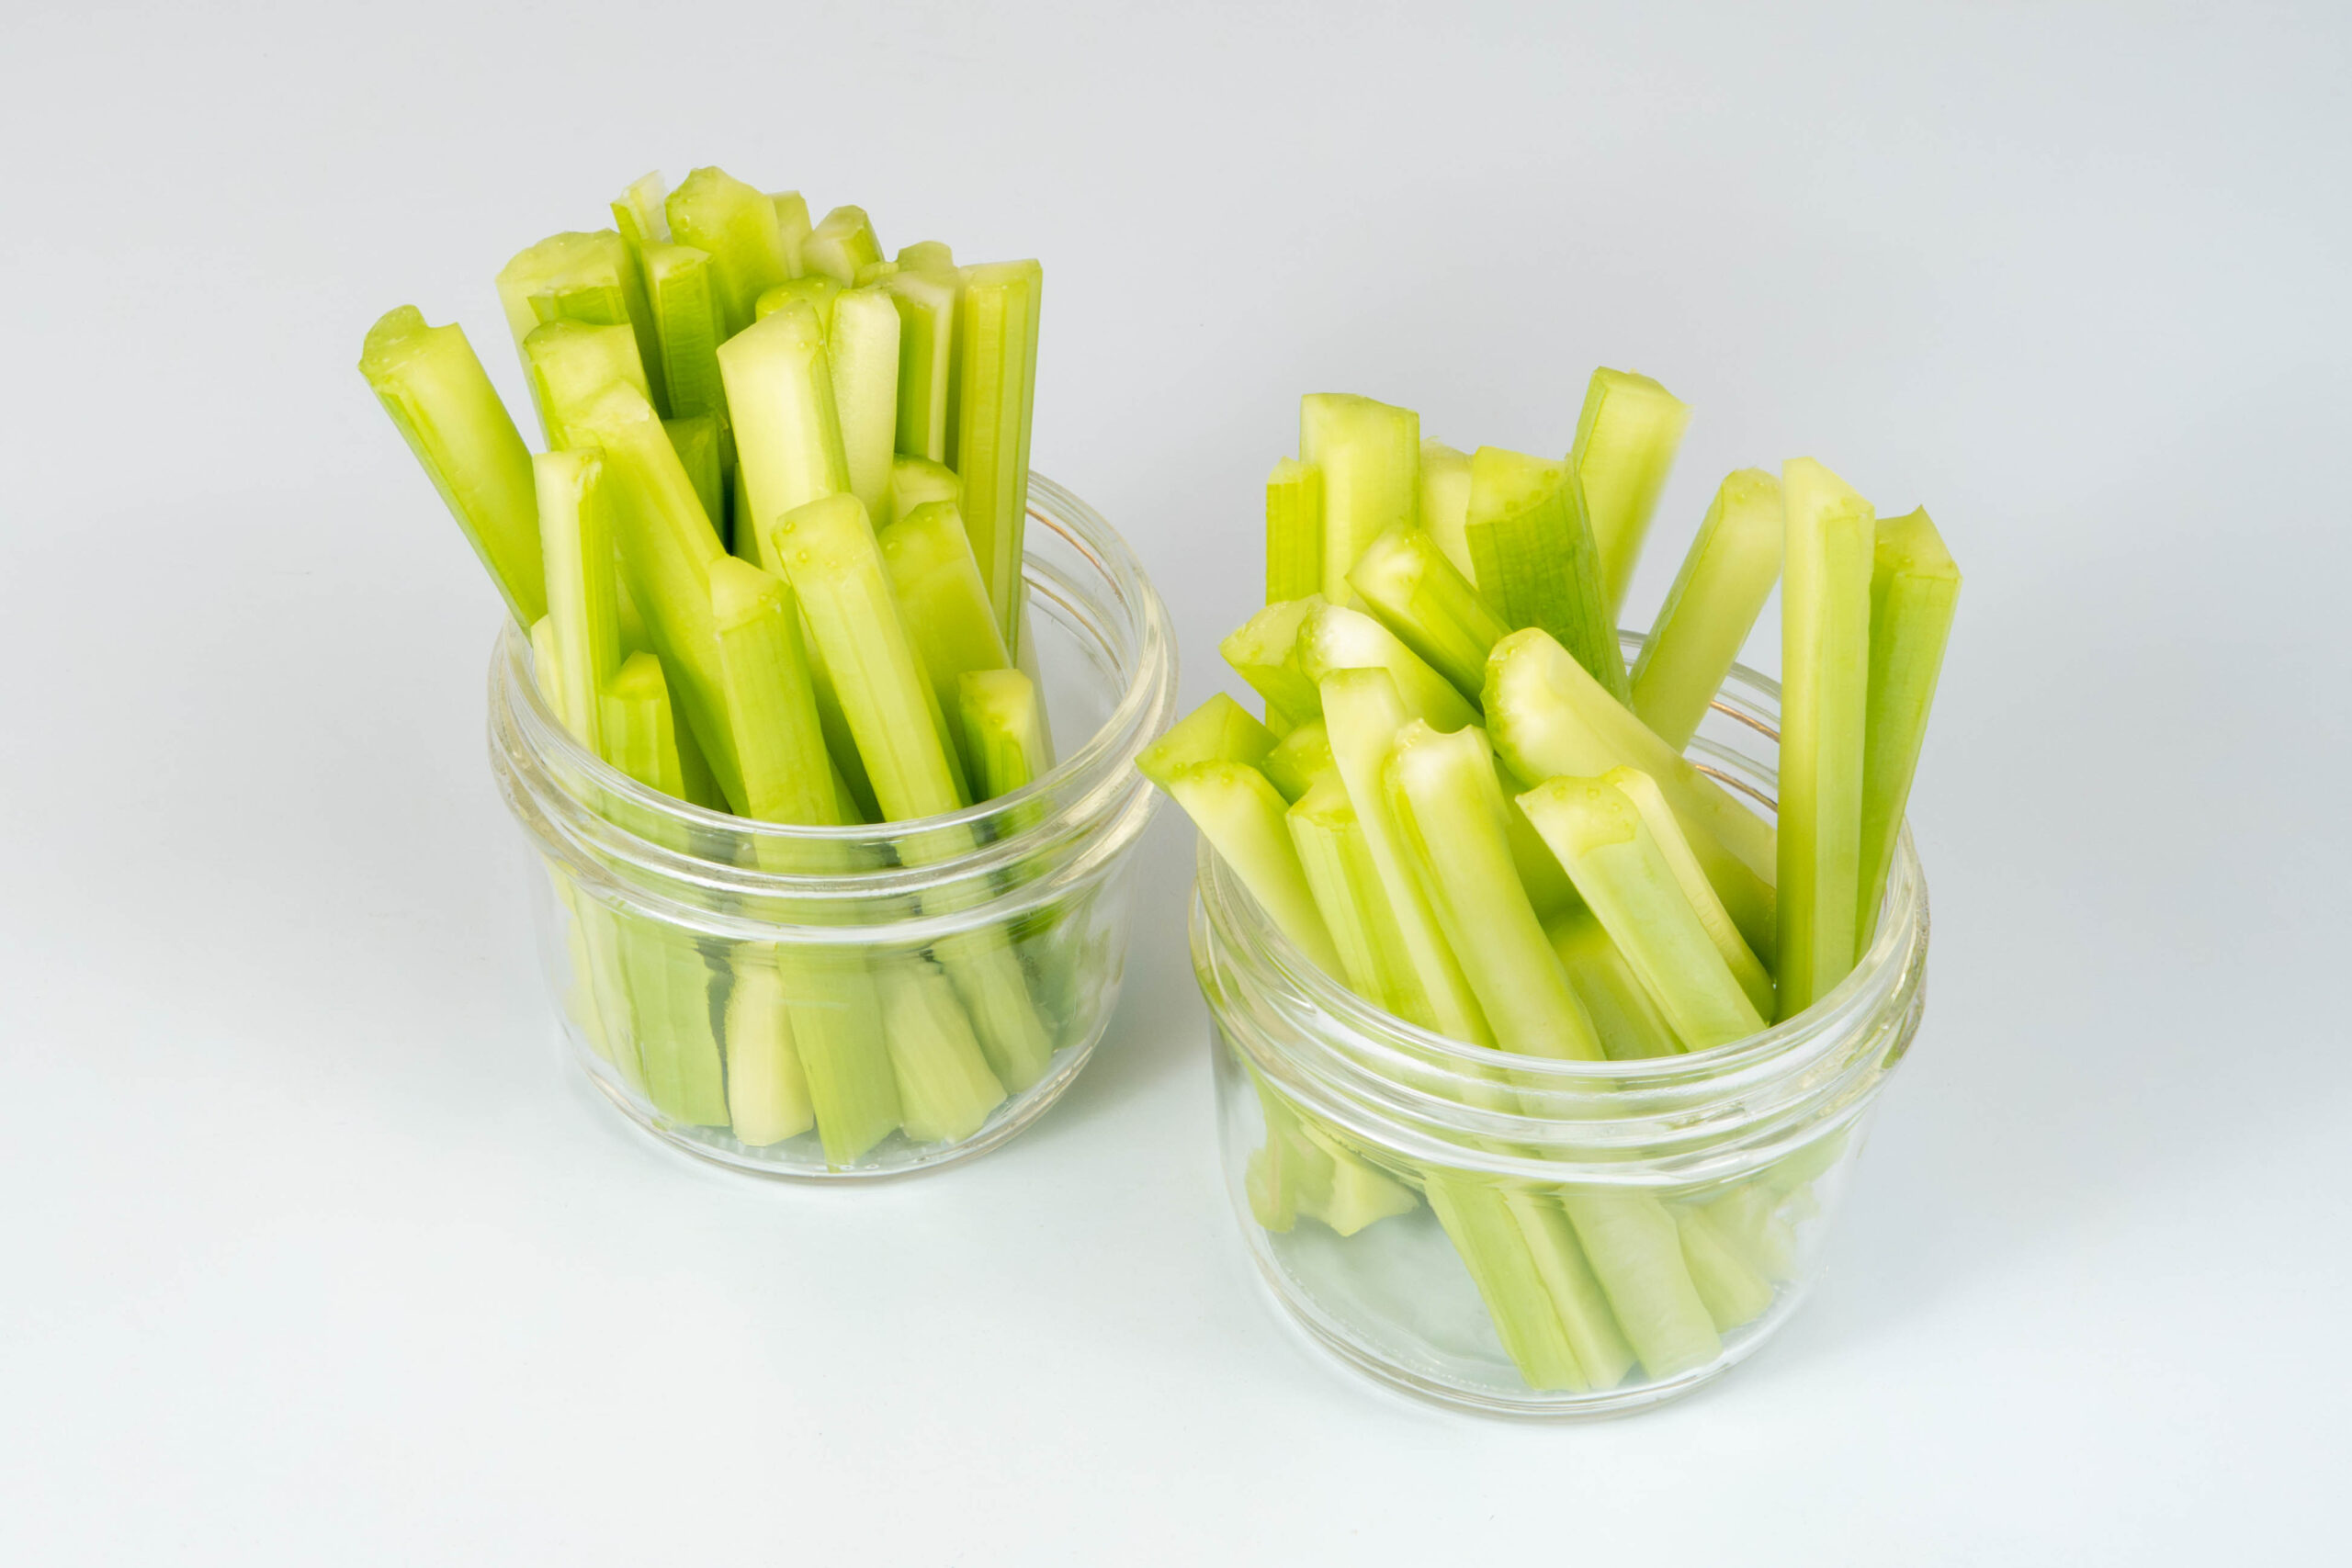
Rinse: Cut the bottom off the bunch where the stalks meet, then rinse the stalks under cold running water.

Cut: Celery will stay freshest when left whole in the fridge, so don't cut it until it's needed. Cutting it in advance is fine, but ideally no more than a day or two.

Trim the stalks and remove any damaged sections. Cut off the wide flared end and the thin leafy ends so you are left with the uniform straight center.

The remaining center section can usually be divided into 2 or 3 equal pieces. Some stalks are thick enough that you may want to divide them lengthwise too. Try to keep them uniform in size. About 3 to 5 inches is standard.

Sometimes the outer stalks have especially fibrous strings that some people find unpleasant. You may de-fibre the celery if you like, but it’s not done often in restaurants and I don’t think it’s necessary. Fiber is good for you, and taking it out is a pain. The only downside is you might be chewing it for a while.

There are different techniques for removing the fibers that are just a quick search away, but they are beyond the scope of this article.

Store: Store cut celery in cold water in the fridge. It will stay crisp for several days. When ready to use, drain and dry before serving.

Serving Celery With Buffalo Wings

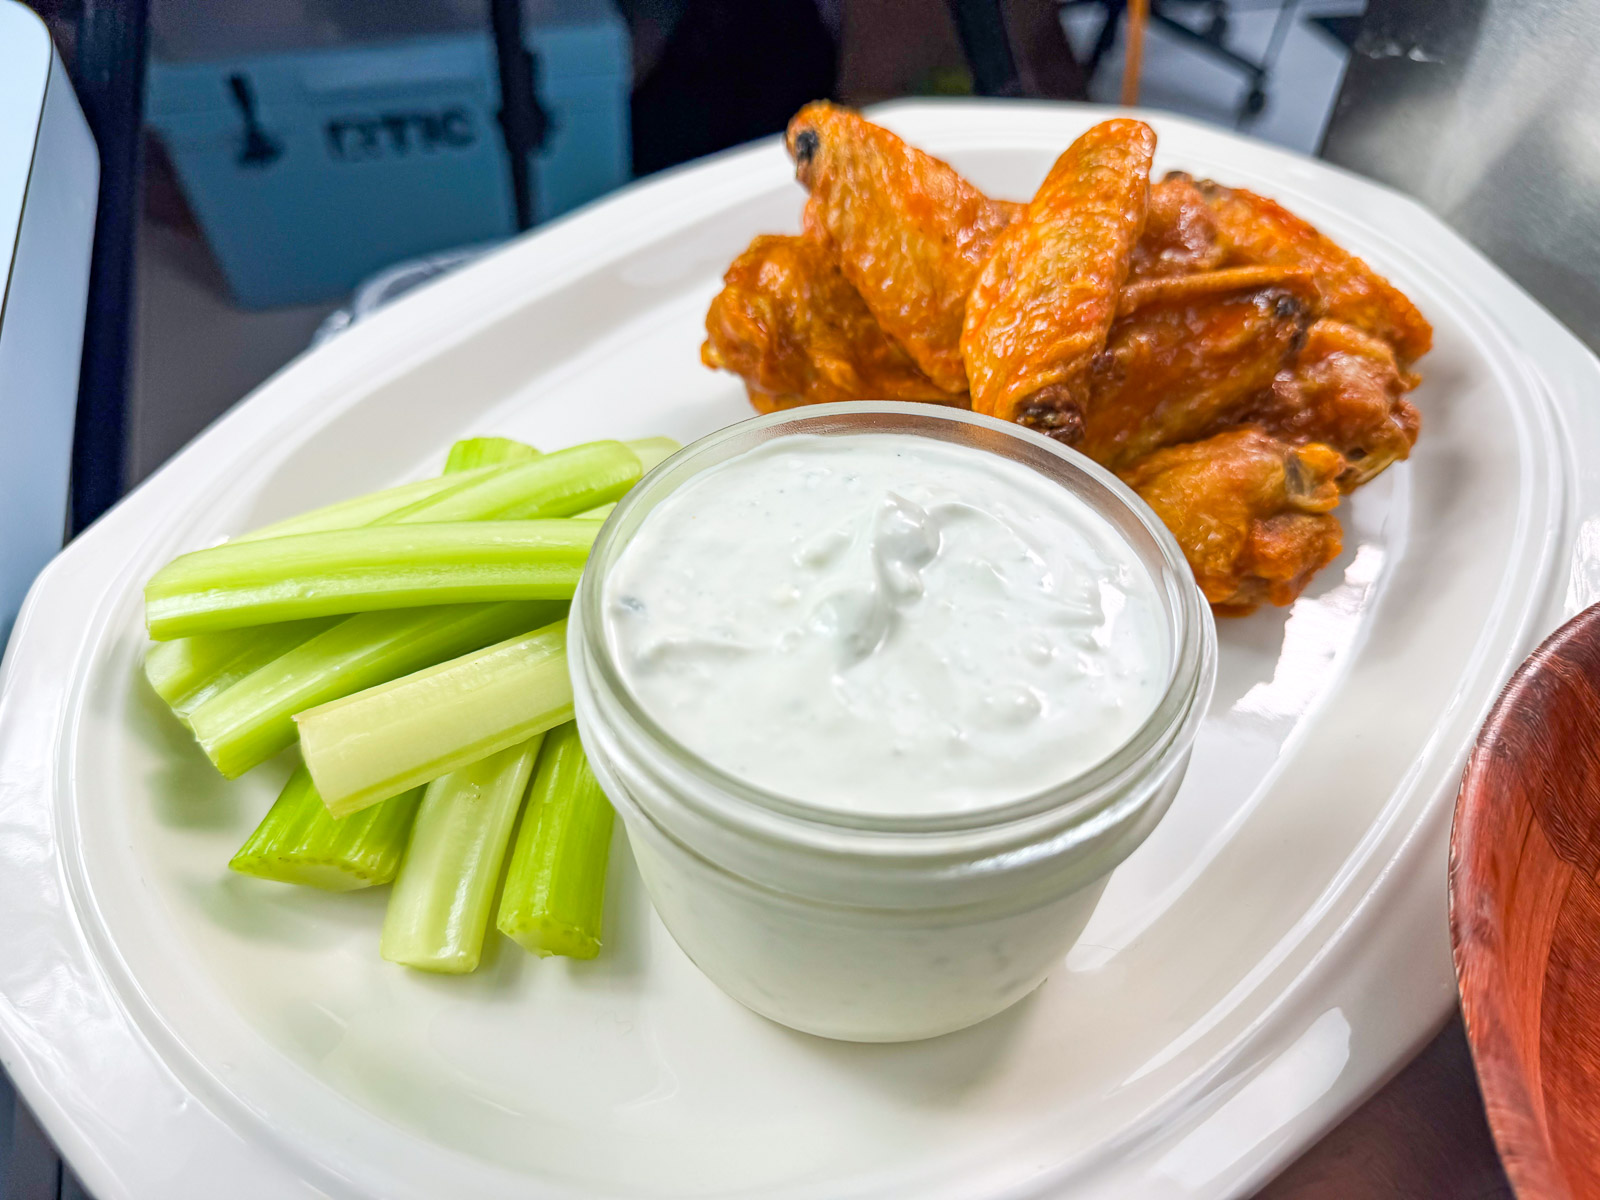
In a restaurant, celery is served on the plate alongside blue cheese dressing. When entertaining, I prefer to put the celery in its own serving dish on the table next to a container of blue cheese dressing. This way guests can snack on it as needed. I think it is best served cold straight from the fridge, so put it out as needed.

Celery sticks

Celery Sticks

Recipe by BuffWing.com
0.0 from 0 votes

Fresh, cold, crisp celery sticks provide the perfect contrast to spicy Buffalo wings and rich blue cheese dressing.

Course: Side DishCuisine: AmericanDifficulty: Very Easy
Servings
+
-

6

servings
Prep time

5

minutes
Cooking time

0

minutes

Ingredients

  • 1 Bunch Celery

Directions

  • Separate stalks: Cut the bottom off the bunch where the stalks meet.
  • Rinse: Rinse the stalks under cold running water.
  • Trim: Trim the stalks and remove any damaged sections. Cut off the wide flared end and the thin leafy ends so you are left with the uniform straight center.
  • Cut to length: Cut the remaining center section into pieces about 3 to 5 inches long.
  • Slice lengthwise if needed: If the stalks are thick, slice them lengthwise.
  • Store: Store cut celery in cold water in the fridge until ready to serve.
  • Serve: Drain and dry before serving.

Reviving Limp Celery

We've all been there. People will be arriving for the wing party soon, and you realize the celery is limp. Don't be embarrassed. This can happen to anyone, and it’s really not a big deal.

How to fix it:

It's really a matter of hydration. Cut off the dry ends and place the celery in cold water, then put it in the fridge for at least half an hour. Longer is usually better.

Final Thoughts

Fresh, cold, crisp, refreshing celery is the perfect contrast to Buffalo wings and helps bring balance to the plate. It is an important part of the Buffalo wing experience and should always be close by.

Classic Buffalo Wings: The Complete Guide + Recipe

Classic Buffalo Wings: The Complete Guide + Recipe

Classic Buffalo Wings

Welcome to my Buffalo wings master recipe. If you're just looking for the recipe, click the button above and you'll go right to the recipe card. If you want to learn more about the process and understand why some methods produce better Buffalo wings than others, you're in the right place. Here, we will focus on the basics, concentrating on what is most important and what will make a real difference in our pursuit of perfect Buffalo wings at home.

My goal is to show you how Buffalo wings are traditionally made in Buffalo and how to get the best possible results at home. Buffalo wings have been around for a long time, and the methods that produce the best results haven't changed much. The process itself is not overly complicated, but it does require doing it right. Perfect Buffalo wings are not about tricks or secret ingredients. They are about preparation, proper frying, the right sauce, and great blue cheese dressing. To keep this guide concise, I’ve included links to more detailed articles throughout.

What Makes a Perfect Buffalo Wing?

Diagram of a perfect Buffalo wing

Before learning how to make Buffalo wings, it helps to know what we're trying to create. A perfect Buffalo wing is a large, hot, crispy, juicy and deep fried chicken wing. It should be coated in a cayenne pepper sauce and butter mixture and served with blue cheese dressing and celery. These characteristics are what separate truly great Buffalo wings from the rest.

For an excessively detailed discussion of what makes a perfect Buffalo wing, see: Buffalo Wing Basics

Ingredients You’ll Need

Chicken wings: You will typically have a choice between frozen "party wings" and fresh uncut wings. I prefer fresh wings and look for the largest ones available.

Oil: You’ll need enough cooking oil to fill your fryer to the recommended level. Any cooking oil with a high enough smoke point will work. Canola or vegetable oil are popular and inexpensive, but peanut oil, though more expensive, is worth the investment.

Cayenne pepper hot sauce: The difference between fried chicken wings and Buffalo wings mostly comes down to the sauce. Buffalo wing sauce is a mixture of butter and cayenne pepper sauce. Though other brands exist, Frank’s RedHot is the best.

Butter: Can't make Buffalo wing sauce without it.

Blue cheese dressing: Blue cheese dressing is the traditional dip for Buffalo wings. I believe it is just as important as the sauce, and possibly the wings themselves. Buffalo wings just aren’t the same without it.

Celery: Celery is the traditional side for Buffalo wings, and I highly recommend not skipping it.

Salt: Season wings with salt before cooking. You can add other spices if you want, but there is already a lot of flavor in the sauce and blue cheese dressing.

Gear You’ll Need (and Some You’ll Want)

In addition to the basic kitchen gear found in most kitchens (bowls, knives, measuring cups, etc.), you will need a way to deep fry your wings and keep track of time. A dedicated fryer is helpful but not required. There are also a few optional items, such as accurate probe-style thermometers, that can make the process easier.

For the full list, see: Buffalo Wing Kitchen Tools

Prep Before Frying

You will need to do a bit of prep before your wings are ready to fry.

Thawing: If using frozen wings, thaw them completely and drain away any excess water.

Cutting wings: Fresh wings will likely need to be cut into sections and the tips discarded. [LINK: How to Cut Chicken Wings]

Drying wings: Though optional, I recommend drying your wings on a rack, uncovered in the fridge overnight. This helps produce crispier skin. [LINK: How to Dry Wings for Crispy Skin]

Seasoning: Season your wings with salt before cooking. [LINK: How to Season Wings (Before & After Frying)]

Tempering: Remove your wings from the fridge about 20 minutes before frying. Cover in plastic or keep them in a zip-top bag to keep condensation off. Warmer wings help the oil stay hotter when they hit the fryer.

How to Fry Wings Properly

Chicken wings can be cooked many different ways, but frying is the traditional method for creating Buffalo wings and will give you the best results.

Know your fryer: People fry wings using all kinds of setups, from pots on the stove to electric countertop fryers and commercial pressure fryers. Just about any frying system will work, but producing truly excellent wings requires knowing your fryer’s abilities and limitations.

Maintain oil temperature: Fry temperature is one of the most important factors in creating perfect Buffalo wings. Don’t trust your fryer to keep the temperature. I recommend using a probe-style deep fryer thermometer to monitor the heat.

Cook smaller batches: One of the most common mistakes for a first-time wing maker is frying too many wings at once. Common home fryers have limited power and may not be able to recover the heat of the oil quickly enough, resulting in wings with sad, soggy skin.

Add wings carefully: Avoid splatter by using a fryer basket, slotted spoon, or tongs to gently lower wings into hot oil. When done right, there is little to no splash.

Keep wings moving: Oil can be hotter in one area than another. Move the wings around once or twice while cooking so they cook evenly.

Know when wings are done: Wings are done when they are light brown, blistered, and floating. That is a reliable sign the skin is well rendered and crispy, and the inside meat is fully cooked.

For food safety, the USDA recommends using a probe thermometer to make sure the center of the thickest wing is above 165°F.

Avoid frying from frozen: Though technically possible, I do not recommend frying wings from frozen. Frozen wings can rapidly cool your oil, making it difficult to properly crisp the skin, and the ice on their surface can cause dangerous splatter or boil over.

Hot Sauce

Authentic Buffalo wing sauce is made with butter and cayenne pepper hot sauce. I only use Frank’s RedHot. It’s what I grew up with and what many of the best wing joints use.

Premixed bottled sauces exist and are an acceptable shortcut, but I’ve yet to find one that can compete with homemade.

Saucing Buffalo Wings

Learn More: Saucing Chciken Wings

Prepare the hot sauce and, if available, fill a squeeze bottle with it. Drop the fried and drained wings into a large bowl and add sauce directly to them. Toss or stir until evenly coated.

Using tongs, remove the wings one at a time and place them on a fresh serving plate. Pouring the wings directly onto the plate works, but too much excess sauce can cause them to lose their crunch prematurely.

Speed is important. The moment the sauce touches the wings, they start to lose their crispiness.

Blue Cheese Dressing


Blue cheese dressing is the traditional dip for Buffalo wings.

Great blue cheese dressing is key. It not only balances the spicy cayenne sauce, it literally cools the wings. The best Buffalo wings are served piping hot out of the fryer. Try eating a few without a massive scoop of blue cheese dressing and see how that feels.

Bad... It feels bad.

Some believe it is acceptable to serve Ranch in its place, but it is definitely not Buffalo-style.

Celery

Learn More: Celery Sticks

Celery should be more than garnish. It is a refreshing palate cleanser between wings, and it belongs on the plate. Its sharp crunch and clean flavor are the perfect contrast to spicy, hot, buttery Buffalo wings.

Common Issue: Skin Isn’t Crispy

Skin that isn't crispy can usually be traced back to one or more of three root causes:

Below are a few important safety reminders.

Hot oil: Hot oil is dangerous, and burns can be brutal. Use caution when frying.

To reduce the risk of splatter and boilovers:

  • Do not fill your fryer with oil past the fill line.
  • Be sure wings are as dry as possible before adding them to the oil.
  • Add wings carefully.
  • Do not overfill your fryer.
  • Don’t fry frozen wings.

Peanut allergies: Peanut oil is excellent for frying, but always check for peanut allergies before serving guests.

Final Thoughts

Perfect Buffalo wings are not about secret ingredients or special tricks. None of this is overly complicated, but the details do matter. Do the basics right: prep your sauce, blue cheese, and celery ahead of time, dry the wings, don’t overload the fryer, and watch your oil temperature. Sauce them quickly using the right sauce and get them on the table fast, serving them hot with blue cheese and celery.

Now go make some hot, crispy, juicy, buttery, spicy, blue cheesy Buffalo wings.

Buffalo Wings

Recipe by BuffWing.com
0.0 from 0 votes

Traditional Buffalo wings that are hot, crispy, juicy, and coated in homemade Buffalo wing sauce. Served with blue cheese dressing and celery.

Course: Appetizers, MainCuisine: American, Buffalo, Bar FoodDifficulty: Moderate
Servings
+
-

4

servings
Prep time

20

minutes
Cooking time

10

minutes
Thawing + Drying Time

24-48

Hours

Ingredients

Directions

  • Prep the Wings
    • Thaw frozen wings completely.
    • Cut whole wings into drums and flats. Discard tips.
    • Dry thoroughly.
    • Season with salt.
    See these helpful guides for proper thawing, cutting, drying, and seasoning techniques.
  • Temper the Wings
    • Remove wings from the refrigerator.
    • Cover or place in a large zip-top bag to prevent condensation.
    • Let stand about 20 minutes before frying.
  • Heat the Oil
    • Heat oil to 375°F (190°C).
    • Verify temperature with a thermometer if possible.
  • Fry the Wings
    • Fry in batches, avoiding overcrowding.
    • Cook 7–14 minutes.
    • Wings are done when light brown, blistered, and beginning to float. For food safety, the USDA recommends an internal temperature of 165°F (74°C).
    See Frying Chicken Wings
  • Drain and Sauce
    Drain briefly on a wire rack or paper towels (about 30 seconds).
    • Place wings in a large bowl.
    • Add Buffalo Wing Hot Sauce.
    • Toss or stir until evenly coated.
    See How to Make Buffalo Wing Sauce & Saucing Chicken Wings
  • Serve
    • Plate with blue cheese dressing and celery.
    • Serve immediately while hot and crispy.
    See Serving Buffalo Wings & Celery Sticks for Buffalo Wings

Notes

  • Serve immediately: The moment the sauce touches the wings, they begin to lose their crispiness.
    Avoid overcrowding: Small batches help maintain oil temperature and produce crispier skin.
    Temper: Bring wings slightly closer to room temperature before frying. This helps reduce the temperature drop when they enter the oil.
    Allergies: Peanut oil produces excellent results, but always check for peanut allergies before serving guests.