Blue Cheese Dressing for Buffalo Wings

Blue Cheese Dressing for Buffalo Wings

Blue Cheese Dressing

I Love Blue Cheese Dressing

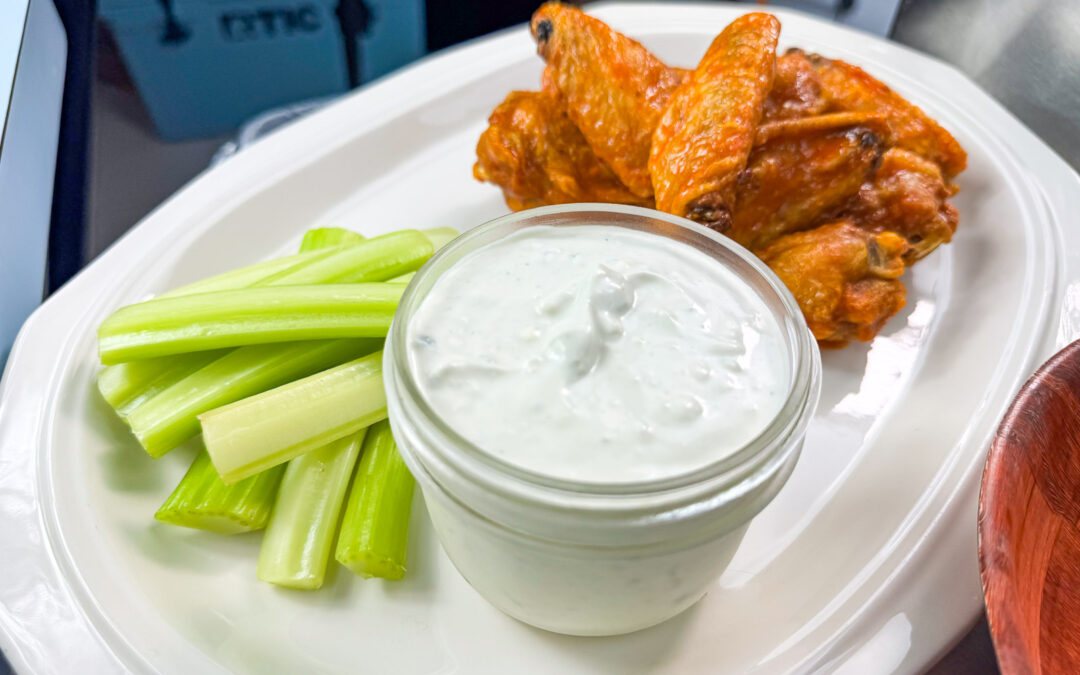
This is my go to homemade blue cheese dressing for Buffalo wings, parties, and anything else that deserves a better dip.

I could have called this website Blue Cheese Dressing (and Buffalo Wings Too) and it would have been accurate.

In Buffalo, it's rare to hear someone call it blue cheese dressing. We always call it blue cheese. If someone asks if you want blue cheese with your wings, they're talking about the dressing, not the cheese itself. From this point on, I'll mostly call it blue cheese too.

I really do love blue cheese.

It’s amazing and mandatory with wings. It’s also great on pizza, french fries, salads, and almost anything else.

My wife has even caught me eating it straight from the jar with a spoon (or my finger) more than once. Yes, it’s embarrassing, but I can’t help myself.

In fact, it’s enough of a problem that I’ve actually created a rule: I only make what will be eaten with that meal, or I send the leftovers home with guests.

How it Started

Blue cheese was always around when I was growing up, but honestly, I didn’t appreciate it nearly enough as a kid. I liked it with wings, but that was about it. At home, there was usually a bottle of store-bought in the fridge for salads, but it never tasted as good as the little round tubs that came with delivery wings.

But the stuff at Grandma’s house was always the best. Once I learned how she made it, there was no going back.

I’m not sure how old I was when Grandma Fran taught me how to make it. Thirteen would be my best guess. There were no written measurements and no recipe card.

It was blue cheese, equal parts sour cream and mayo, some garlic powder, enough white vinegar to make it look right, plus a bit of sugar to balance it. Then she would taste it and adjust from there.

Honestly, I never bothered measuring anything until I finally started writing down recipes properly for use on this website and in my upcoming book, The Perfect Buffalo Wing.

Building the Recipe

When I started creating structured recipes, I wanted to turn my homemade blue cheese dressing from something I made by feel into something people could actually follow.

So I gathered all the supplies: ingredients, measuring cups and spoons, bowls, spatulas, a legal pad, and a pen. Then I made a batch the way I normally would, but this time I measured each ingredient before adding it and wrote it all down.

The first challenge was immediately obvious. Unlike cream cheese or butter, blue cheese is sold in all kinds of package sizes with no standard. That doesn’t matter when I’m making it by feel. I can look at the cheese and think, “That’s not much blue cheese, so I’ll use less of everything else.” But that instinct doesn’t translate into a written recipe, so “one package” means nothing.

For my first batch, I bought a wedge-shaped plastic container of blue cheese I already knew was good quality. It was a 5.5-ounce package, and once I measured everything out, I realized the recipe needed to be based on the right proportion and what tasted right, not whatever size package happened to be on the shelf.

My first measured version was good, but not quite right. It had too much vinegar, and the blue cheese flavor wasn’t strong enough. I added more blue cheese and it improved right away. A bit of sugar balanced the acidity.

After that, over the course of a few months, I made more batches, adjusting the ingredients each time and luring test subjects to my house with promises of Buffalo wings.

The final result is heavy on blue cheese, light on vinegar and garlic, with just a little sugar.

Lessons Learned

Great Blue Cheese Makes Great Blue Cheese

Use high-quality blue cheese whenever possible. The best you can find (or afford) is usually the right choice. Blue cheese comes in all shapes, sizes, and qualities, so one variety may work perfectly for this recipe while another may be so strong or so mild that you need to adjust the amount.

Soft, flavorful blue cheese tends to work best, while some dry and crumbly varieties can be weak and leave you with a disappointing result. Some blue cheeses are simply unsuitable and, no matter how much you add, the dressing will still fall short of what is required to honor your perfect Buffalo wings.

Beware: there are some very bad blue cheeses out there, more like moldy cardboard than cheese, and there is no fixing blue cheese once it has been contaminated by bad blue cheese.

Chunk Size Matters

If the chunks are too small, the dressing becomes smooth and boring. If they’re too large, they won’t scoop well onto the wings.

Aim for small to medium chunks. I find crushing the blue cheese with a fork until the largest pieces are somewhere between the size of a pea and a pistachio works well.

Garlic: Fresh or Powdered?

I believe fresh garlic gives the best flavor, but garlic powder works just fine. If substituting, use about 1 teaspoon of garlic powder for each fresh clove.

This recipe keeps the garlic balanced for most people, but if you’re a garlic lover, don’t be afraid to push it further.

It Gets Better With Time

Blue cheese is good right away, better after a couple of hours, and best after a night in the fridge.

Mayo Matters

Use a good mayonnaise. Cheap mayo can sometimes contain a flavor that drags the whole recipe down. I usually use a popular national brand found almost everywhere, and it works great.

I’ve made my own a couple of times, and it made the blue cheese even better. However, it takes extra work, and over time, homemade mayo doesn’t stay emulsified as well as store bought so you may notice some separation after a couple of days.

I’ve never actually experienced that myself, since blue cheese never lasts that long in my house.

Bold Variations

Personally, I love a strong blue cheese dressing, and I rarely make it exactly the same way twice. I generally use more garlic, skip the sugar or swap it for maple syrup or honey, replace white vinegar with balsamic or red wine vinegar, add bacon crumbles, or mix different blue cheeses.

If it’s just you, have fun with it and get a little crazy. Just no Ranch dressing. Being from Buffalo, that’s not okay.

Why This Version Won

After months of experimenting and luring people over with promises of Buffalo wings, this is the version that won. It’s thick and easy to pile onto a wing with one scoop. It uses plenty of blue cheese, which is what it should taste like, without so much garlic or vinegar that it puts people off.

Overall, people have loved this version.
Blue Cheese Dressing for Buffalo Wings

Blue Cheese Dressing for Buffalo Wings

Recipe by BuffWing.com
0.0 from 0 votes
Course: Condiment, DipCuisine: American, BuffaloDifficulty: Easy
Servings
+
-

8

servings
Prep time

10

minutes

Homemade blue cheese dressing for Buffalo wings that’s thick, creamy, and loaded with flavor.

Ingredients

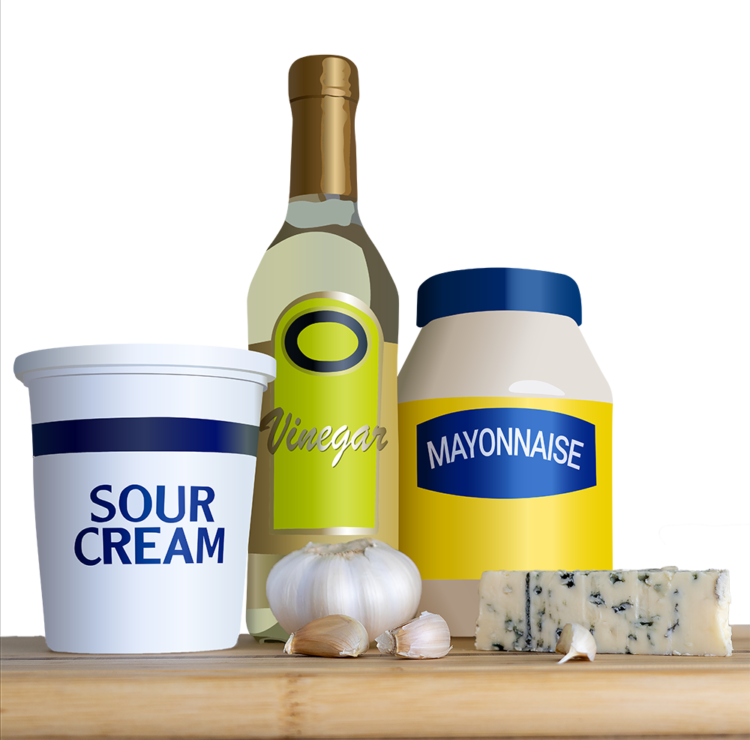
  • 6 oz blue cheese

  • 3/4 cup mayonnaise

  • 3/4 cup sour cream

  • 2 tbsp white vinegar

  • 2 cloves fresh garlic (finely minced)

  • 1/2 tsp sugar (optional)

Directions

  • In a large bowl, crush the blue cheese with a fork into small to medium chunks.
  • Add the remaining ingredients and mix until combined, leaving some blue cheese chunks intact.
  • Enjoy immediately, but for best flavor refrigerate at least 2 hours, preferably overnight. Store covered in the refrigerator.

Recipe Video

Notes

  • Use good blue cheese: Quality matters. Soft, flavorful blue cheese works best.
    Thick and scoopable: This recipe produces a thick blue cheese that can be piled high on a Buffalo wing with a single scoop.
    Chunks matter: Too small, and the dressing becomes smooth and boring. Too big, and they won't scoop well.
    Garlic options: Fresh garlic is best, but 1 teaspoon garlic powder per clove works well.
    Better with time: Blue cheese is good right away, better after a few hours, best overnight.

How to Fix Your Blue Cheese Dressing

Allow the blue cheese to sit in the fridge for at least a couple of hours before judging it. Garlic and blue cheese need time to meld with the other ingredients.

  • If the flavor is too weak, add more blue cheese, garlic, or both.
  • If the flavor is too strong, add equal parts sour cream and mayo.
  • If it is too thick, add milk, half and half, or heavy cream, a little at a time, until it reaches the right consistency.
  • If it is too acidic, add a little sugar.
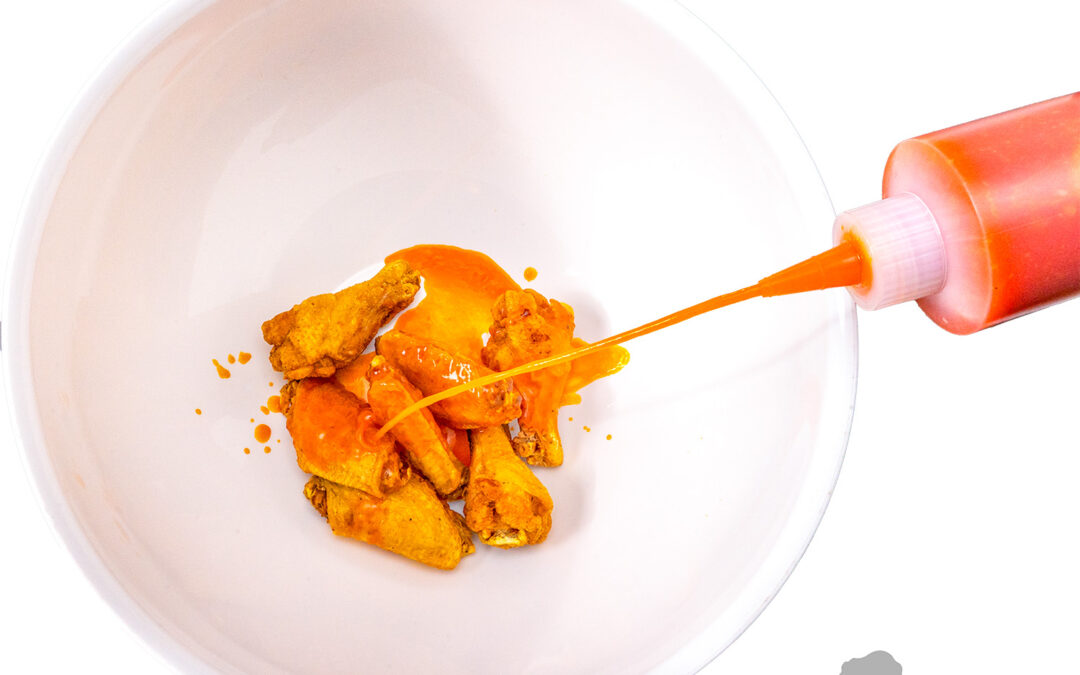
Saucing Chicken Wings

Saucing Chicken Wings

Saucing Chicken Wngs

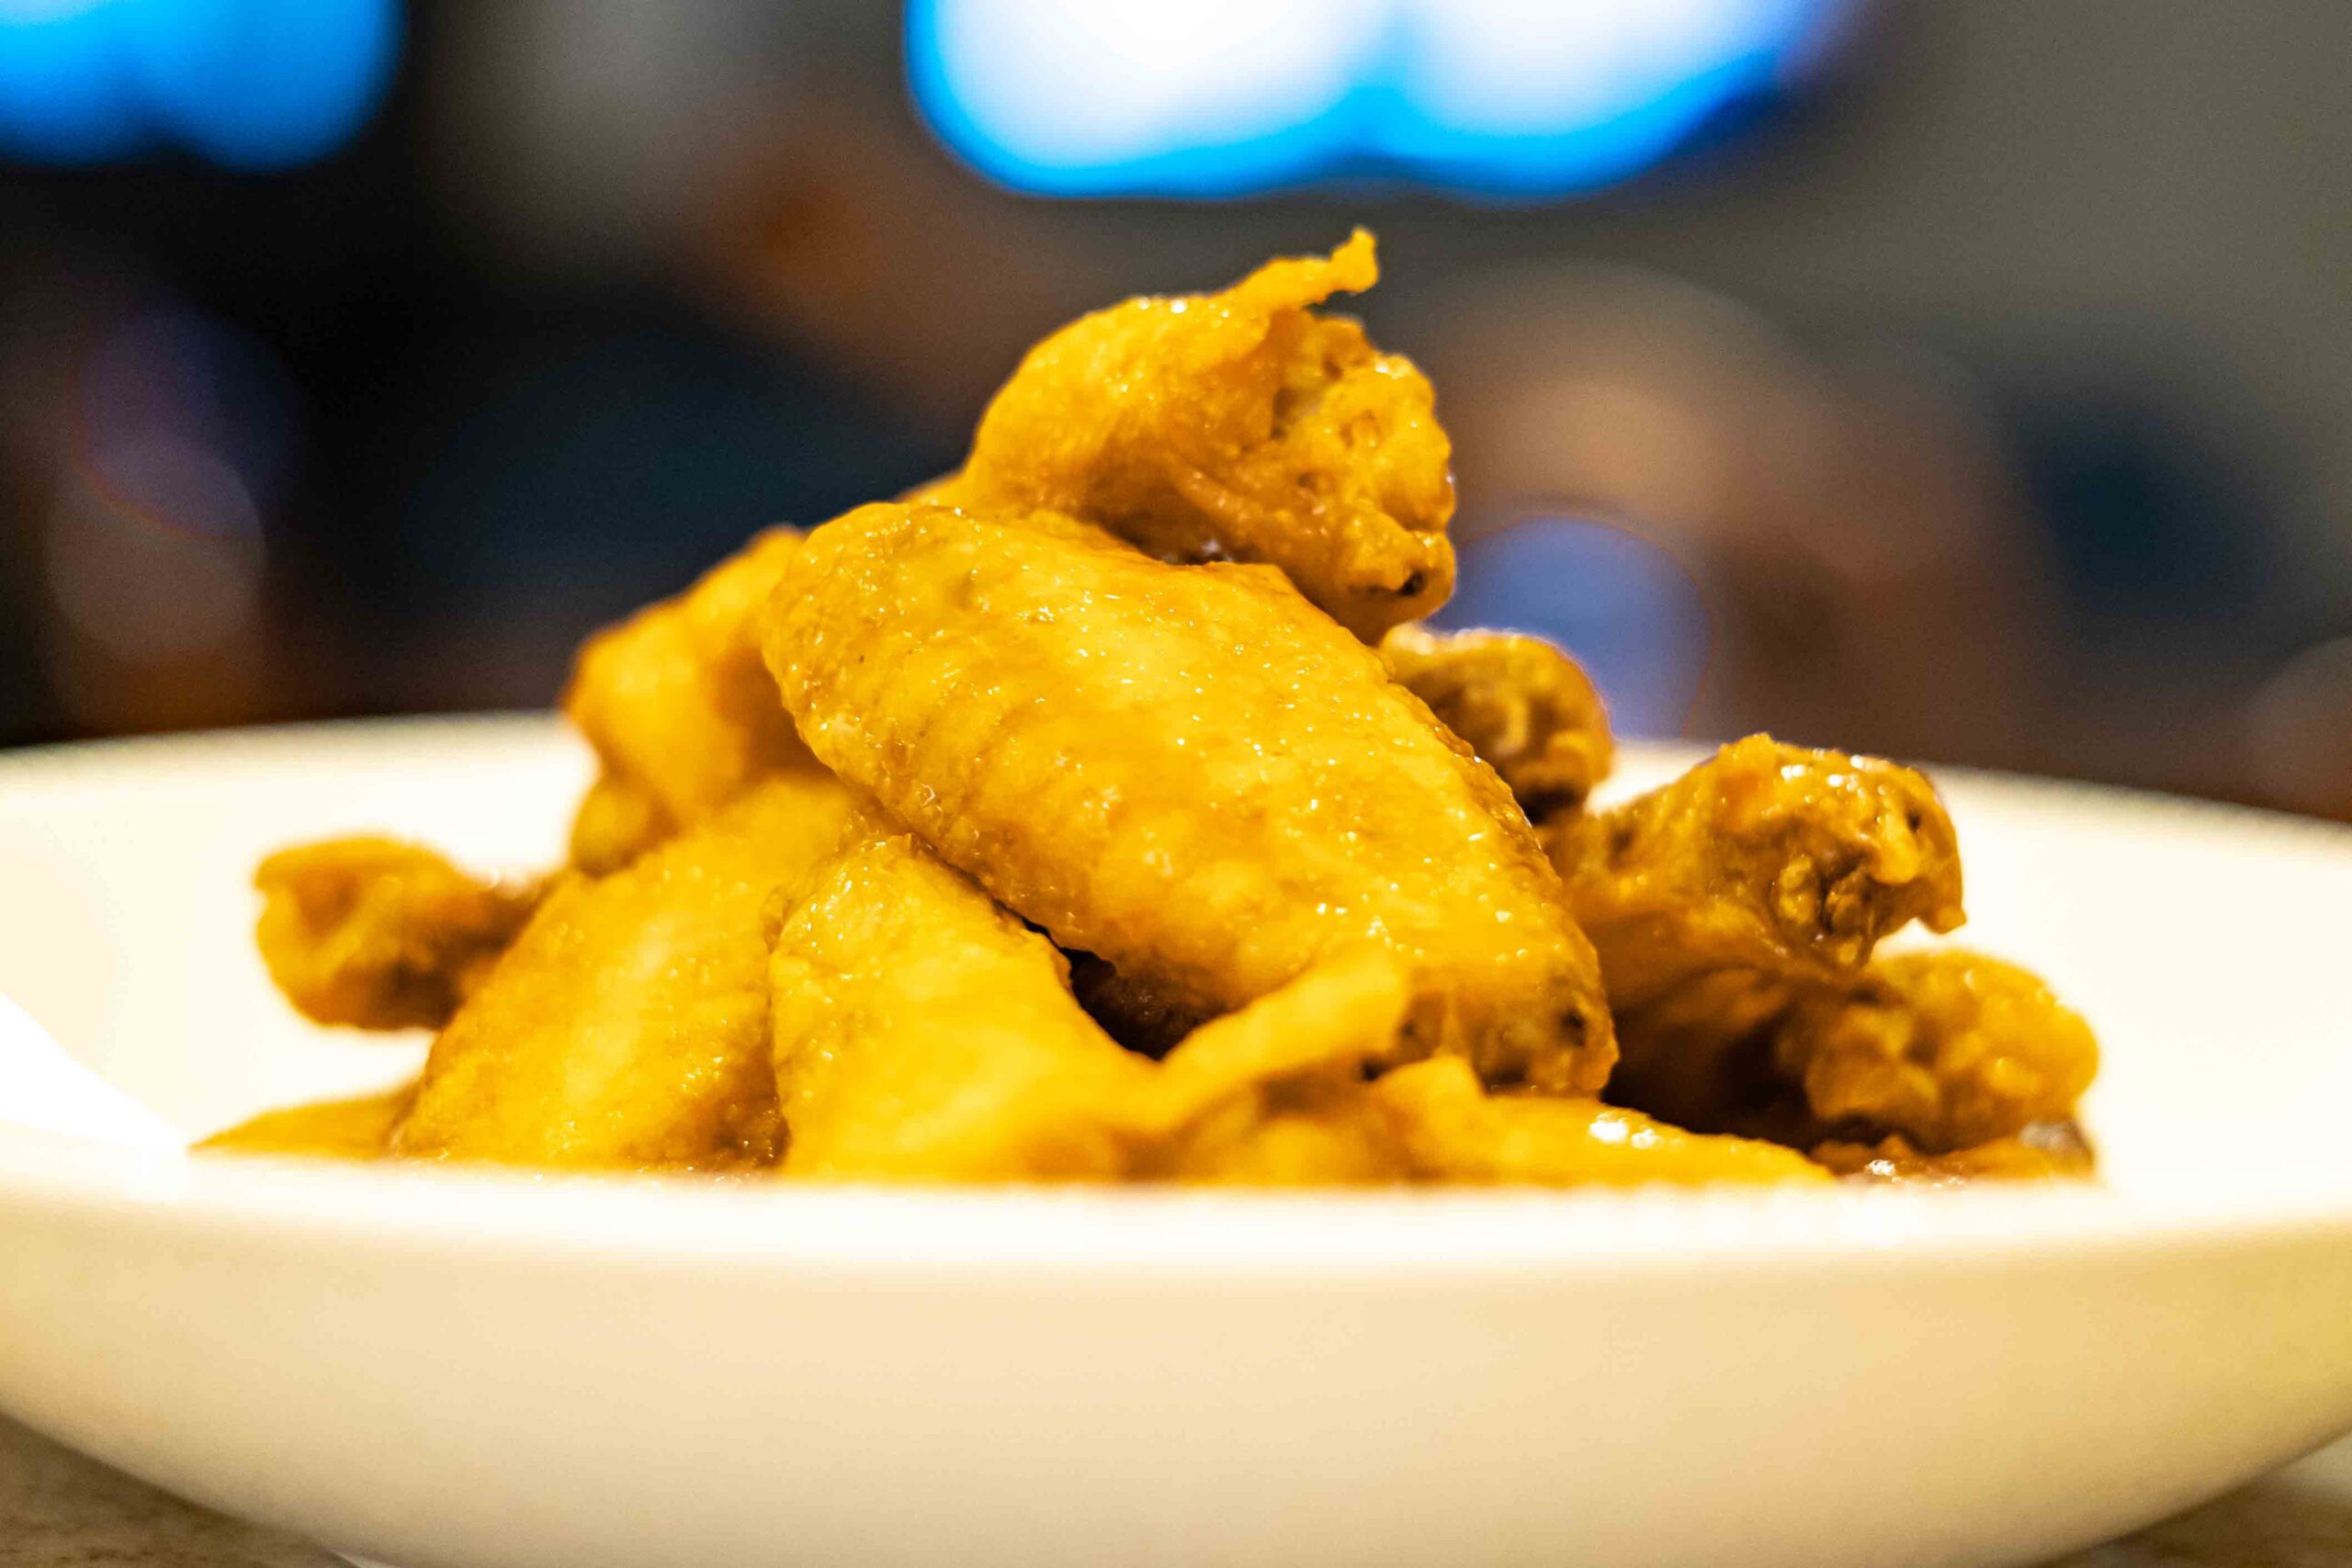
Piping hot chicken wings right out of the fryer covered in spicy cayenne butter sauce is a beautiful thing. Grab a wing, dip it in blue cheese dressing, and take a bite. Heaven.

Saucing wings isn’t difficult, but there are a few things that really matter.

The sauce itself isn’t complicated. It has two ingredients, Frank’s RedHot and butter, and you basically just melt the butter and mix them together. (link)

After making the sauce, I recommend putting it in a squeeze bottle so it’s ready when the wings come out of the fryer.

How Much Sauce to Use

I like a nice thick coating of sauce on my wings, but more sauce is not necessarily better.

I find that the wings know how much sauce they want. You just need to listen to them. Here's how:

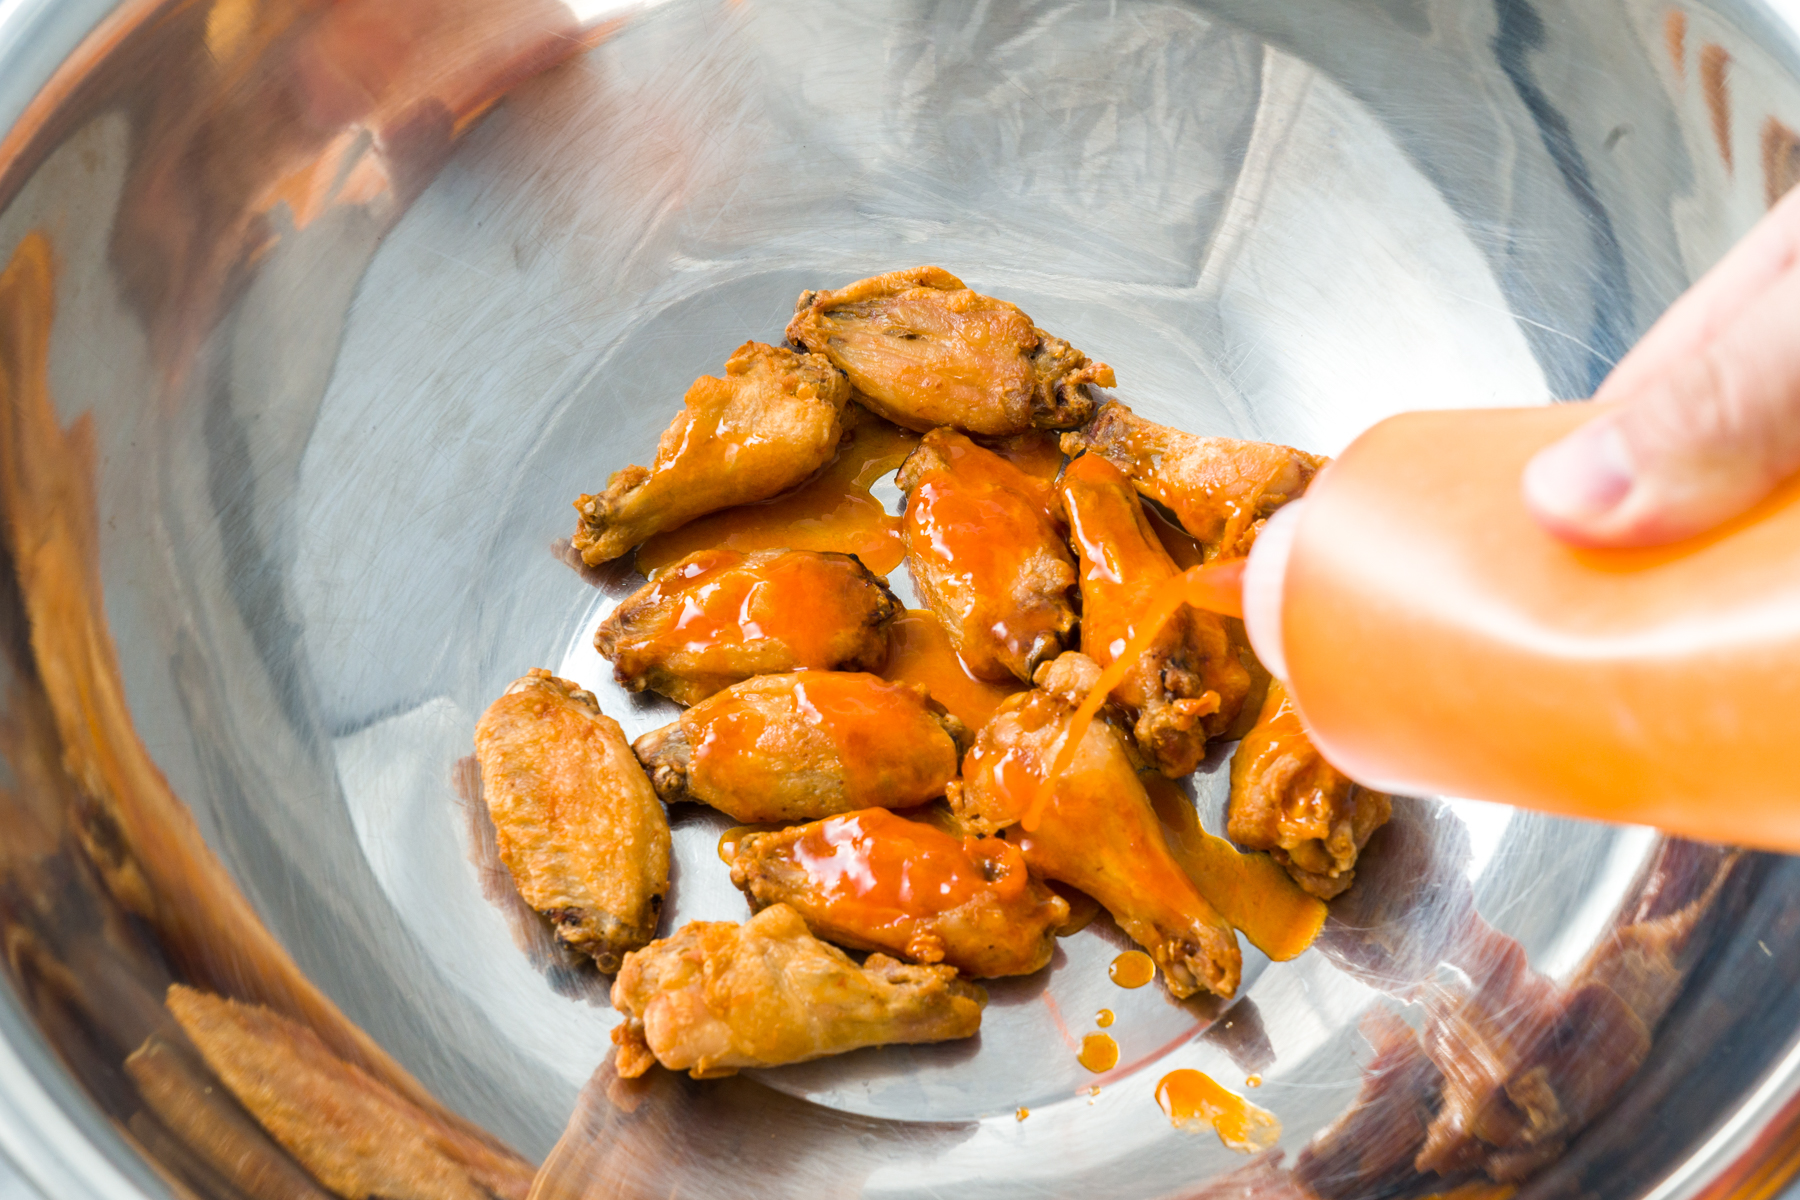
  • Be generous with the sauce as you add it to the bowl, slightly more than the wings can hold.
  • Transfer the wings to the serving plate one at a time.
  • Whatever sticks to the wings on the way to the plate is the perfect amount.

Choosing the Right Bowl

A large wide shallow stainless steel bowl is the perfect tool for saucing wings.

  • Metal won’t melt if youaccidentally leave it too close to the fryer.
  • The large wide shallow shape allows you to quickly maneuver the bowl, build momentum, toss the wings effectively, and keep them landing back in the bowl, though some skill is required.

A small plastic bowl, on the other hand, will likely melt at some point and, though you will eventually get the wings coated, it won’t be fast or clean.

Saucing and Serving

Adding sauce to buffalo wings

Steps

  1. Bottle: make Buffalo wing sauce (link) and put it in a squeeze bottle. Pouring straight from the pot is fine too.
  2. Fry: fry, drain, and immediately drop the wings into a large wide shallow bowl.
  3. Sauce:
    1. Squirt or pour sauce onto the wings as evenly as possible.
    2. Coat them one of two ways:
      • Use a spoon or spatula and stir them real good.
      • Toss them in the bowl using quick movements to swirl, tumble, and propel the wings airborne before they fall back onto each other.
    3. Add more sauce and repeat until the wings are evenly coated.

    I can’t say that tossing them does a better job than stirring. No one will judge you if that’s how you want to do it, but if anyone is watching, I recommend tossing. It definitely looks cooler.

  4. Plate: using tongs, quickly and neatly place the wings on a serving dish already prepared with celery and blue cheese dressing.

    Note: pouring the wings onto the plate, though quick, leaves the wings bathing in a pool of sauce which could speed up the decrisping process. Also, it doesn’t look as good.

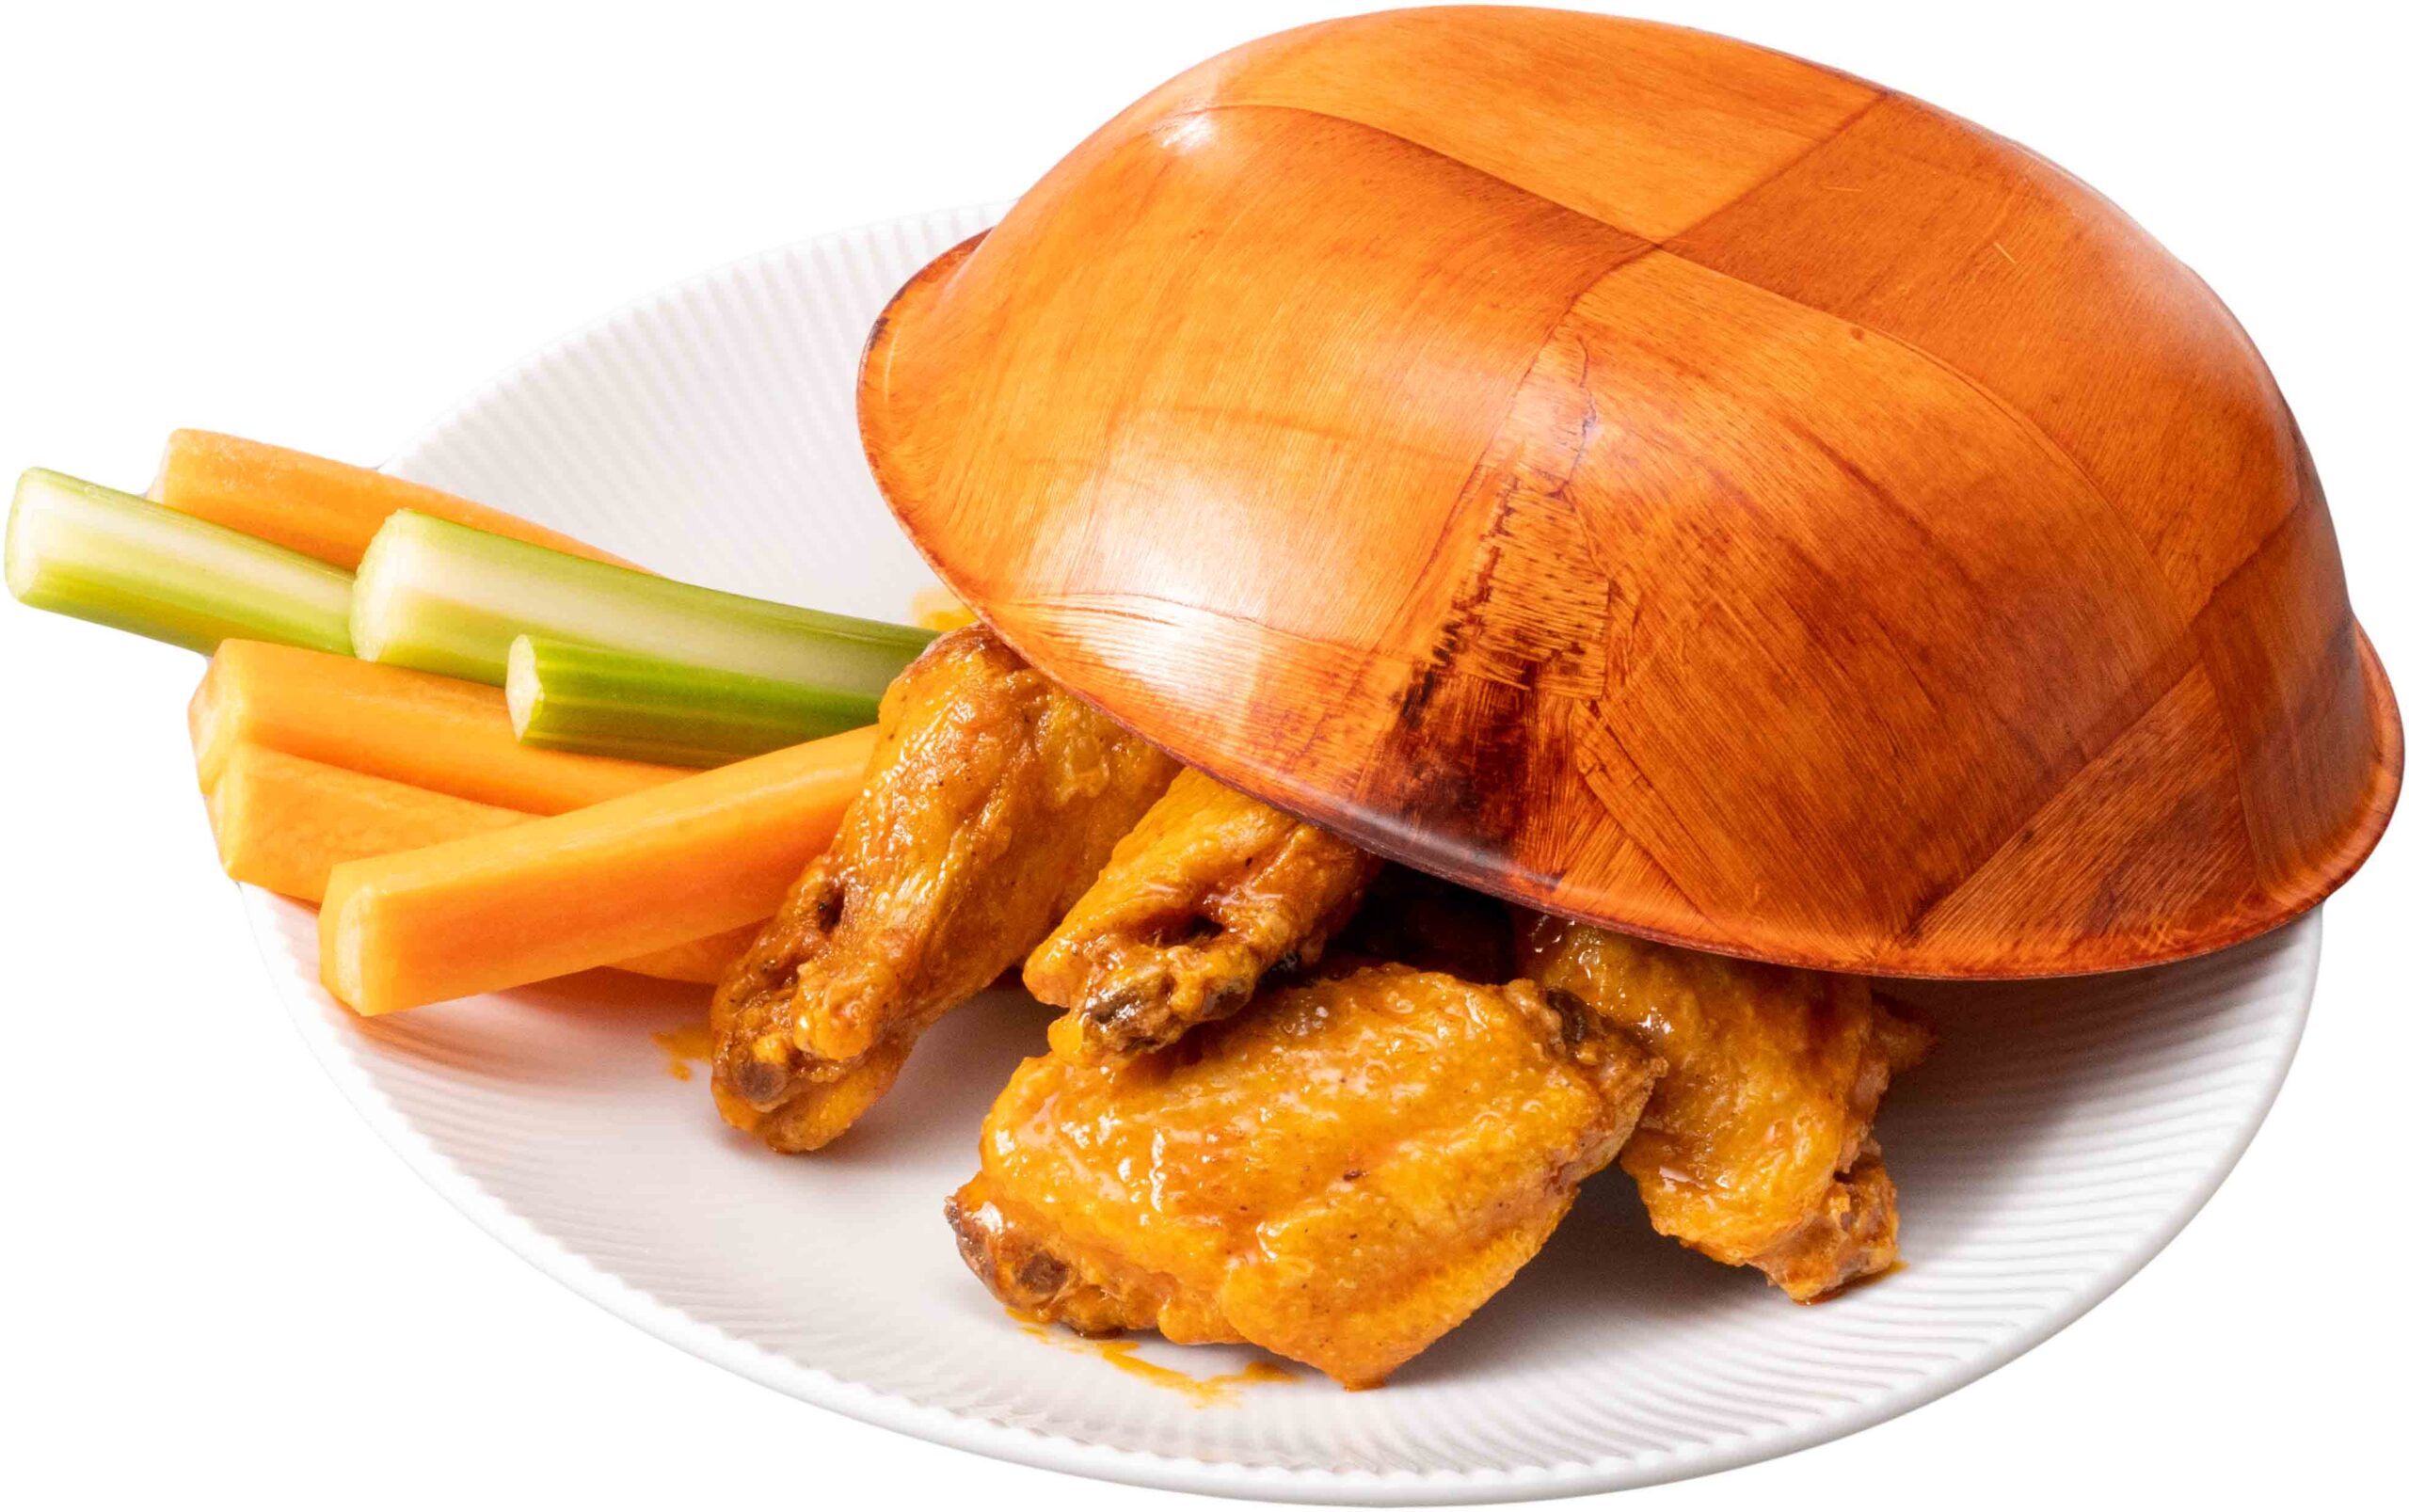
  5. Cover: place a wooden bowl upside down over the wings. This highly specialized equipment keeps the wings hot longer while still letting steam escape, but mainly it is for the bones.
  6. Serve: get the wings in front of people immediately.

Sauce Temperature

Sauce temperature matters, but Buffalo sauce is pretty forgiving.

A few things to keep in mind:

  • Ideal sauce temperature for saucing wings is probably between 140-150°F. This is hot enough not to cool your Buffalo wings but not so hot that it cooks, burns, or potentially breaks your sauce.
  • Buffalo sauce will still work at lower temperatures. As long as it is liquid enough to pour or squeeze out of the bottle, the hot wings will further melt the sauce as they are tossed. The sauce will still coat the wings just fine. The only downside to cooler sauce is that it will cool the wings a bit faster.
  • If reheating your sauce directly in a saucepan, do it on very low heat, stir constantly, and do not let it boil. Consider a double boiler setup to do this more gently.
  • If reheating in a squeeze bottle, I recommend a hot water bath. Hot water from your tap may already be enough. Otherwise, heat water in a pot, remove it from the heat, and submerge the bottle, but not the top. Be careful not to let water get into the bottle.
  • Safety note: People leave Buffalo wing sauce sitting warm for hours all the time and it is probably fine, but butter is technically perishable and the USDA would still consider it in the danger zone and unsafe after exactly 2 hours.

Protect the Crisp

A common restaurant experience: My Buffalo wings finally show up and, though they taste good and the meat is right, the skin has no crisp left.

There are many reasons why this might happen, but at a restaurant it is usually because delays happen. Here is one likely scenario: Your once perfectly crisp and hot wings sat on a plate under a heat lamp, slowly poaching in a pool of hot sauce while the rest of the food at the table was prepared and your server was stuck at table 6 listening to someone complain that their wings were not crispy.

I can’t blame the restaurants too much, they do what they can. We don't have that excuse at home. We have the time and power to remove the issues that steal the crisp.

A good start is to drain, sauce, plate, and eat in fast succession.

If wings must wait, unsauced wings hold much better than sauced wings.

But still eat them. Don’t ever throw out Buffalo wings, even the less than perfect ones.

Drying Chicken Wings for Crispy Skin

Drying Chicken Wings for Crispy Skin

Drying Wings

The difference between average Buffalo wings and great Buffalo wings often comes down to texture. Prepared incorrectly, the skin can end up rubbery or the meat can become tough and dry.

In my experience, the problem can usually be traced back to two things.

Oil Temperature: When frying, the required oil temperature is not maintained. Many fryers start hot enough but struggle to maintain temperature after cold wings are added. Oil temperature will be covered in exhaustive detail in the Frying Wings article.

Wing Dryness: Wings are not dry when they go into the fryer. Drying wings is another simple way to improve texture and create crisp skin without drying out the meat.

How to Dry Wings

  1. Season the wings: I recommend 1/2 tsp kosher salt or 1/4 tsp regular table salt per pound of wings. Salt improves flavor and works well with the drying process. See the wing seasoning article Here.
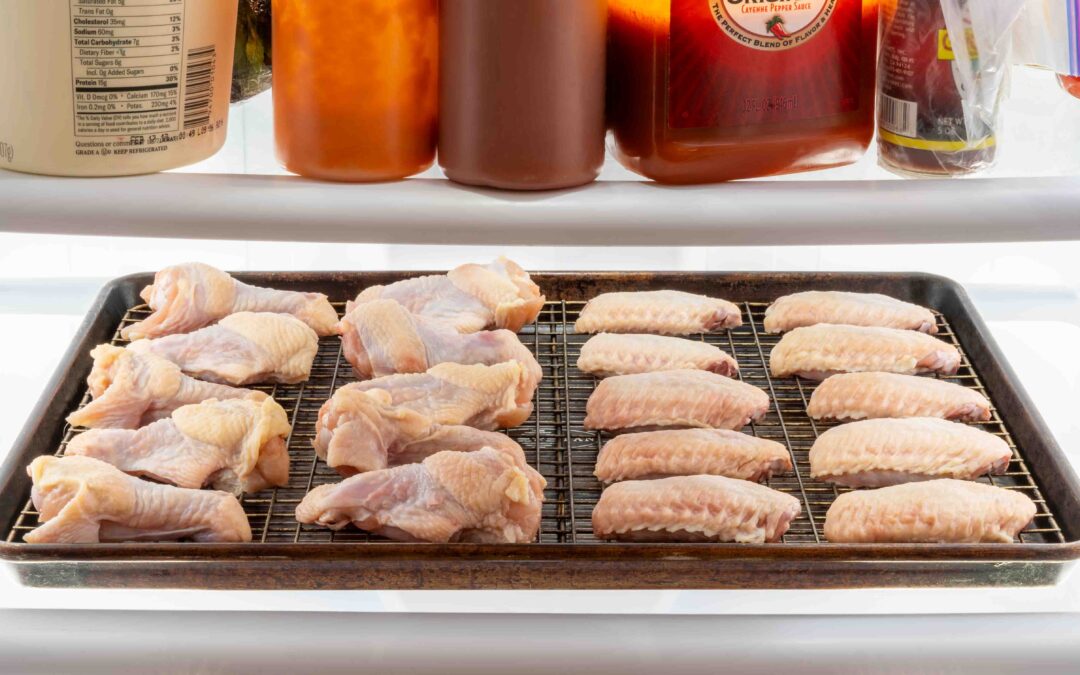
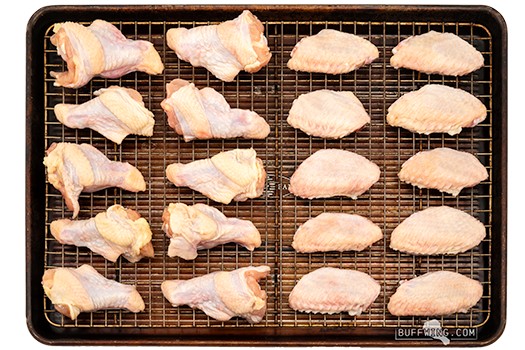
  2. Spread them out: Place wings on a wire rack over a baking sheet. Avoid crowding; they need airflow on all sides.
  3. Refrigerate: Take precautions to prevent raw chicken from contaminating other foods, including keeping the tray on the bottom shelf of the refrigerator.
  4. Let them dry: Leave the wings uncovered for 24 to 48 hours. Too little time and the skin won't dry enough. Too much time and the skin may become leathery.

Danger Zone

What is the danger zone? It’s the temperature range between 40°F (4°C) and 140°F (60°C) where bacteria are happiest and reproduce quickly. Raw chicken should stay out of this range as much as possible. In general, wings should either be in the refrigerator or in the fryer.

Don’t panic, you have some time. According to the USDA, you generally have about 2 hours to work with raw chicken while it is in the danger zone, or about 1 hour in temperatures above 90°F (32°C).

When drying wings, store raw chicken on the bottom shelf and sanitize surfaces that come into contact with the chicken during preparation, drying and frying. This includes countertops, trays, wire racks, utensils, refrigerator surfaces and even the sink.

Controlling Humidity

Drying time depends heavily on your refrigerator conditions. A brand new refrigerator in a dry climate with very little inside will not have to work as hard as an older refrigerator in a humid climate that is packed with food and constantly being opened.

Your refrigerator’s airflow and ability to remove moisture will absolutely affect drying time. If wings don’t appear to get any drier after 24 hours, you may need to make some adjustments.

You can use a hygrometer to monitor the humidity in your refrigerator. You can find a link to the one I use in my Buffalo Wing Kitchen Tools article. It’s inexpensive and connects to an app on your phone via Bluetooth, allowing you to monitor humidity without opening the refrigerator door and letting more humidity in.

Lower humidity generally means faster drying. Around 40% humidity seems to work very well for drying wings. Once humidity climbs above 60%, drying slows noticeably.

Don’t worry too much if the humidity shoots up after adding the wings. They are wet, so that is normal. The humidity should slowly drop as the wings dry.

Things You Can Do to Reduce Humidity

  • Seal or remove moisture-heavy foods like soups and uncovered vegetables. Keeping these foods in the bottom drawers should also help reduce humidity.
  • Defrost the fridge ahead of time. Refrigerators, even new ones, benefit from occasional defrosting to help remove moisture.
  • Consider adding a padlock to the refrigerator door so family members are unable to disrupt the very important business.

Why Drying Works

Why does drying wings improve Buffalo wings? When done right, drying allows the fryer to crisp the skin while the skin protects the meat underneath from overcooking and drying out.

Removing Water

This may seem obvious but drying wings removes water mostly from the wing’s outer layer, otherwise known as the skin, before the wings ever hit the oil. This gives the fryer a head start and helps crisp the skin without extra time in the oil that could overcook and dry out the meat underneath.

Obviously there is a lot more happening during frying than just water removal. Fat is rendering, proteins are changing and all kinds of other reactions are taking place. For those interested, very nerdy wing science articles are coming in the future. For now, understanding water and skin texture is what matters most when it comes to making better Buffalo wings at home.

Skin Protection

Wet chicken skin is loose and floppy in the fryer, allowing hot oil to move around underneath more easily.

During the drying process, the skin shrinks and tightens against the meat underneath. At the same time, moisture trapped between the skin and meat condenses and starts acting like a glue, helping the skin cling more tightly to the meat. This prevents oil from getting underneath the skin.

You can actually see the difference. Before drying, the skin hangs loosely from the wing. After drying, it tightens against the meat and naturally clings in place.

The skin acts as a protective barrier between the hot oil and the meat, helping keep the meat moist and juicy while the outside crisps.

What Good Texture Looks Like

Honestly, I’m not sure I can fully articulate what perfect texture is supposed to be. It’s more of a spectrum we want to stay within.

For me, the perfect crisp skin looks (or sounds) something like this. I want to hear a crunch as my teeth bite into and tear through the skin of a hot Buffalo wing. The skin should be light and airy with tiny blisters and bubbles that create crispness without becoming tough.

There are good and bad ends of that range. On one side: undercooked, rubbery skin with no crisp at all. On the other side: skin that is unpleasant because it is dense and more like fried cardboard. Even if it is dry and crunchy, if it becomes hard to bite through or difficult to tear, it has gone too far.

Drying Wings at Scale

Drying wings at scale at home creates problems restaurants rarely have to think about. Commercial kitchens often have dedicated refrigeration, more airflow, more space and equipment designed for food production. At home, you are trying to dry trays of chicken wings in the same refrigerator your family opens every five minutes looking for juice.

My wife loves coming home to find the entire fridge compressed onto the top shelf while the middle and bottom shelves are filled with racks of chicken wings. Eventually, I came up with a solution.

Some people have kegerators, wine fridges or cigar humidors. I have a Buffalo wing drying fridge and I’m proud of it!

Pro Tips

  • Watch for condensation: Cover wings with plastic wrap or place them in a zipper bag after removing them from the refrigerator and before frying. This prevents condensation from forming on the skin and reducing the benefit of all your drying efforts.
  • Dry wings are also less likely to stick to fryer baskets and baking trays.
  • Water and hot oil don’t mix: The wetter your wings are, the more splatter and overflow risk you create during frying. More on this in the Frying Wings article.
  • Short on time? Do your best to get the wings as dry as possible before frying. Paper towels work well. At the very least, wings should never be wet enough for water to drip off when dropping them into the fryer. Water can be dangerous in hot oil!

Drying Skin is Not a New Idea or Unique to Buffalo Wings

Drying poultry skin before cooking is not unique to Buffalo wings. Peking duck is another famous example of skin preparation being critical to texture and has reportedly been prepared this way since the 1300s. Different methods are used, but the goal is similar: dry the skin enough for it to become thin and crisp during cooking.

The same basic principle shows up in everyday cooking too. Many chicken recipes suggest drying skin-on thighs, breasts and drums before broiling or grilling to help crisp the skin.

Celery Sticks for Buffalo Wings

Celery Sticks for Buffalo Wings

Why Celery?

Celery has always been part of the Buffalo wing experience, and for good reason. When at its best, it’s fresh, cool, crisp, refreshing, and exactly what you want to be eating between fried, spicy, buttery, hot Buffalo wings. Buffalo wings and celery are about as different as two foods can be, and I believe that is exactly why they work so well together. Opposites attract.

Celery also goes great with the other member of the support team: blue cheese. Eating celery and blue cheese dressing is a great way to pass time while the wings are cooking.

Sadly, celery often gets the short end of the stick (pun intended) and is treated as little more than decoration. Part of the problem is that many restaurants do not give celery the respect it deserves. When you are served a plate of glorious wings and there are just a couple of small, limp celery sticks off to the side, warm and covered in wing sauce, they are not very appealing to eat.

Many people clean every scrap of meat from the bones but leave the celery behind. I eat mine.

Choosing Celery

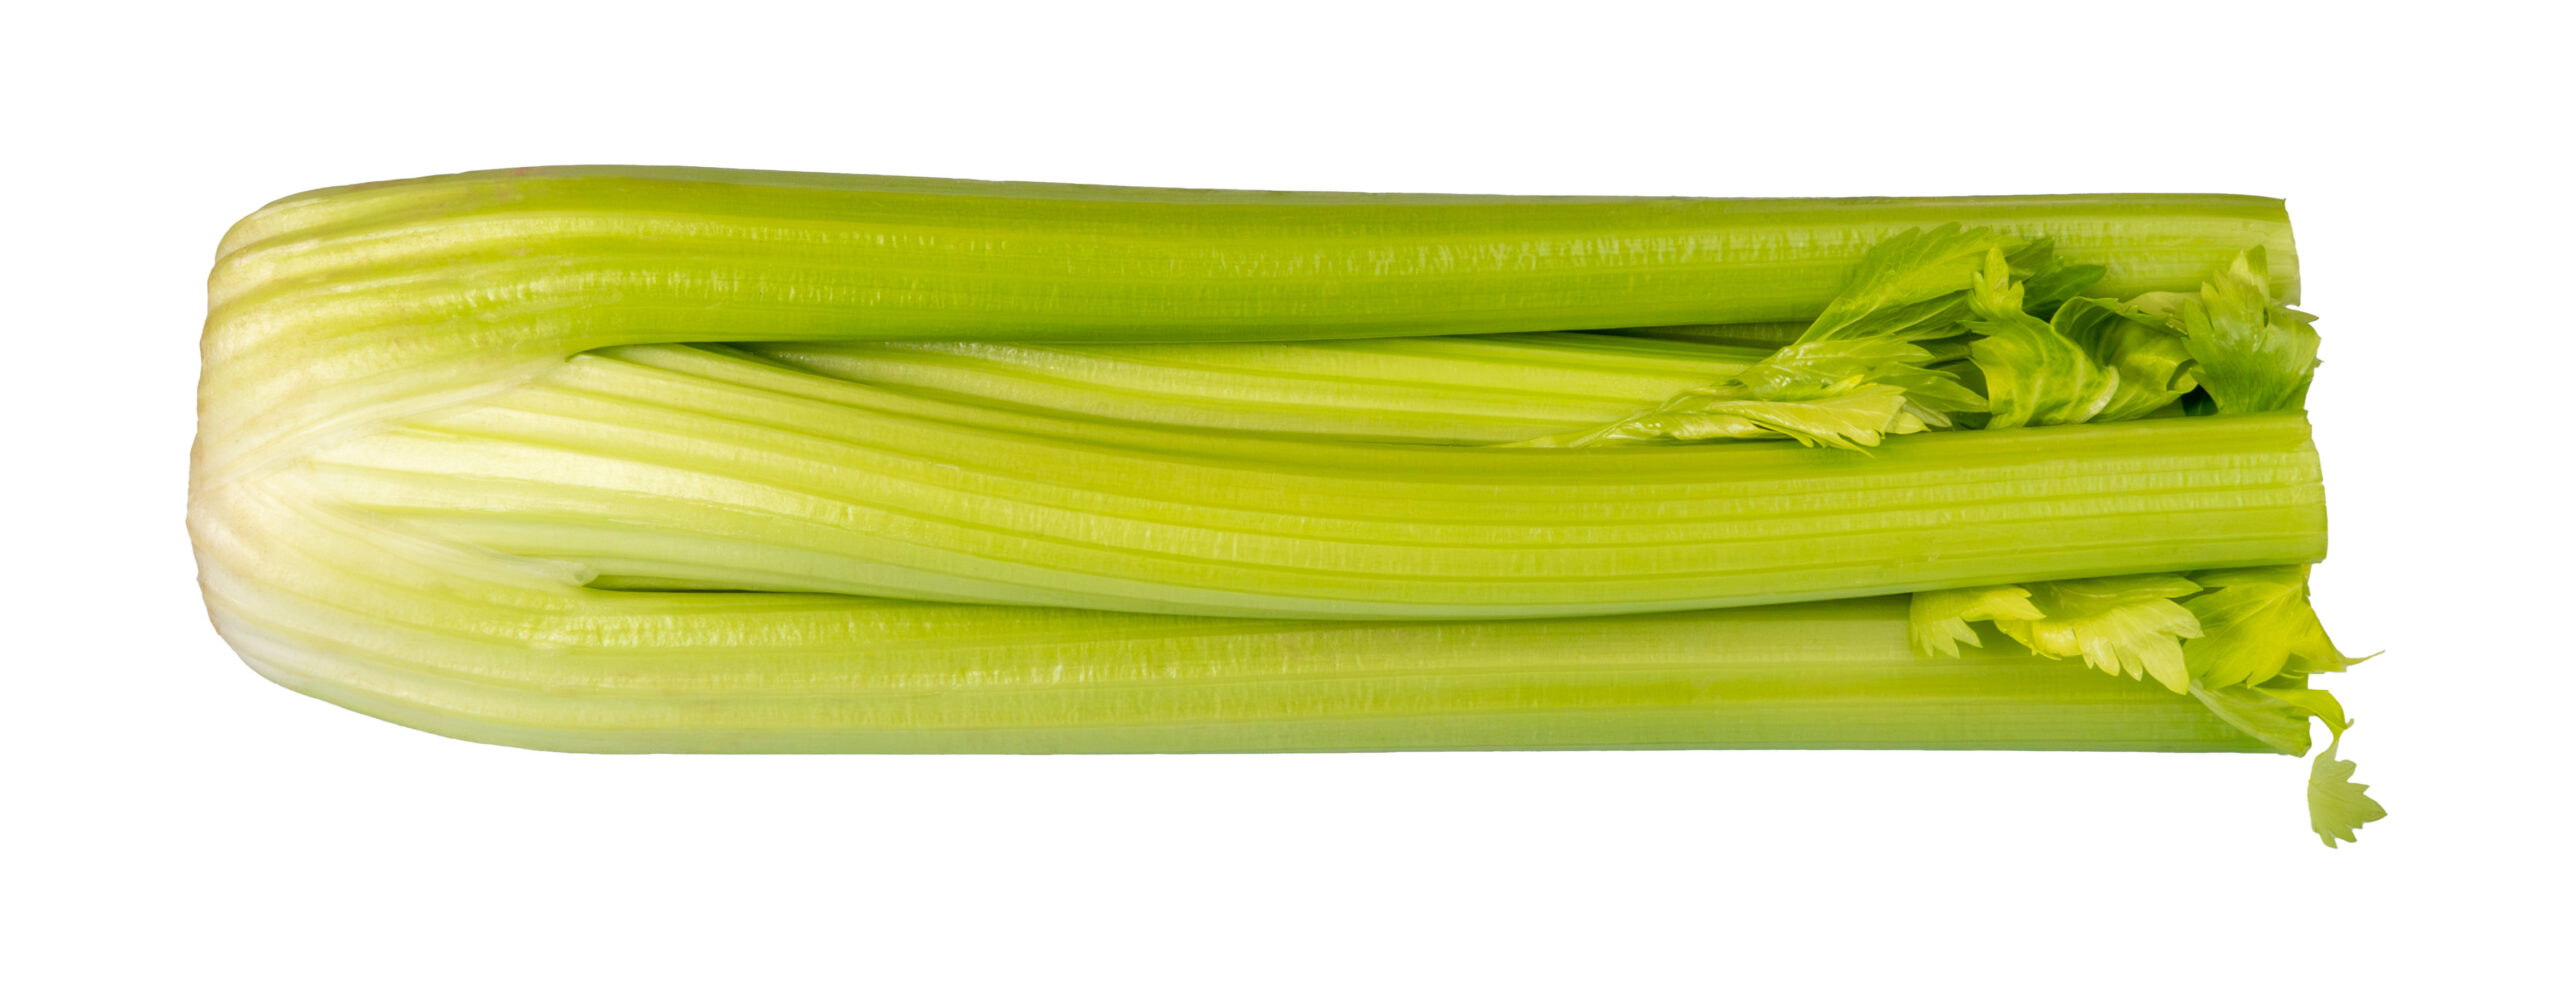
When shopping for celery, choose carefully. Fresh celery almost always tastes better and has more crunch.

I look for a vibrant green color and clean, firm stalks. If they have leaves, the leaves should be healthy and not wilted, dry, or slimy. As celery ages, it becomes limp and rubbery, its color starts to fade, and it loses much of the crunch that makes celery enjoyable to eat. It also develops imperfections on the stalks, including small dry spots and other blemishes. After cutting, fresh celery will be something people actually want to eat instead of leaving on the plate.

Prepping Celery

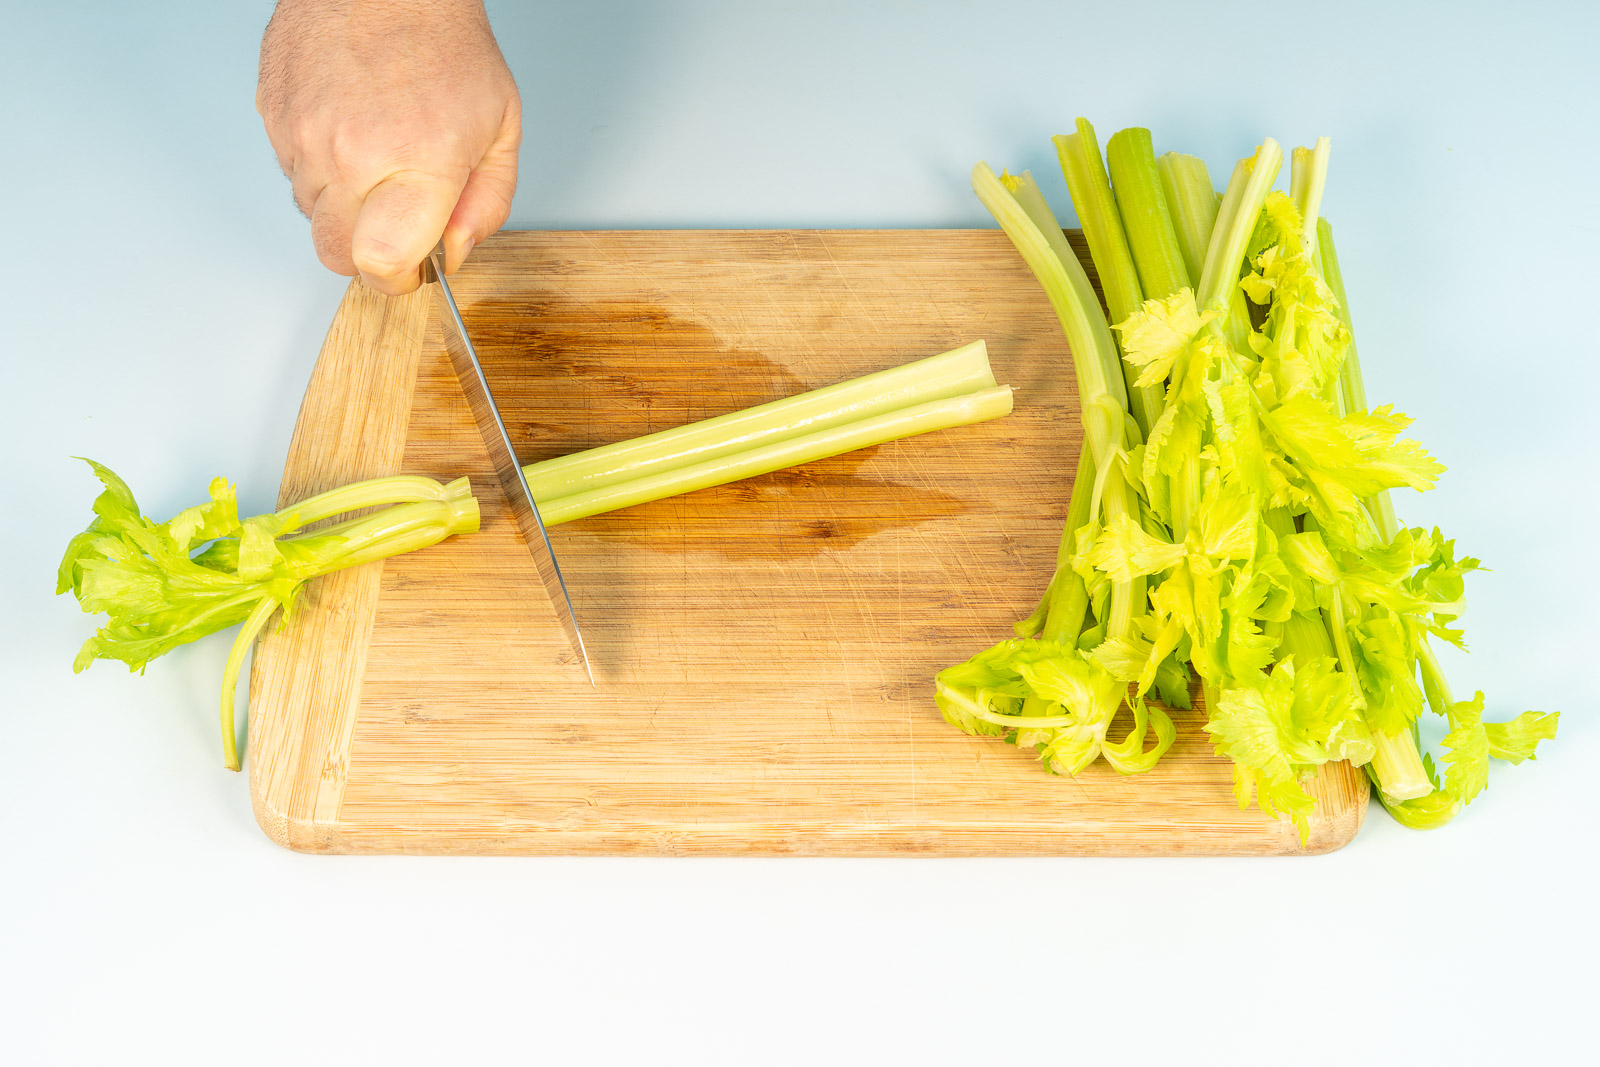
Rinse: Cut the bottom off the bunch where the stalks meet, then rinse the stalks under cold running water.

Cut: Celery will stay freshest when left whole in the fridge, so don't cut it until it's needed. Cutting it in advance is fine, but ideally no more than a day or two.

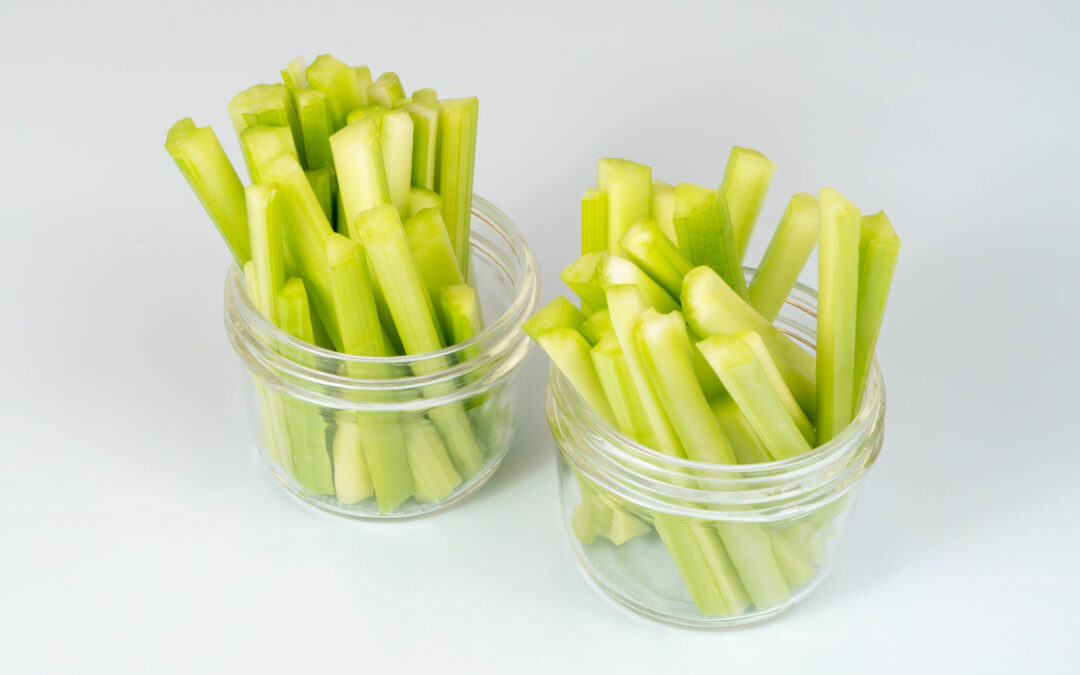
Trim the stalks and remove any damaged sections. Cut off the wide flared end and the thin leafy ends so you are left with the uniform straight center.

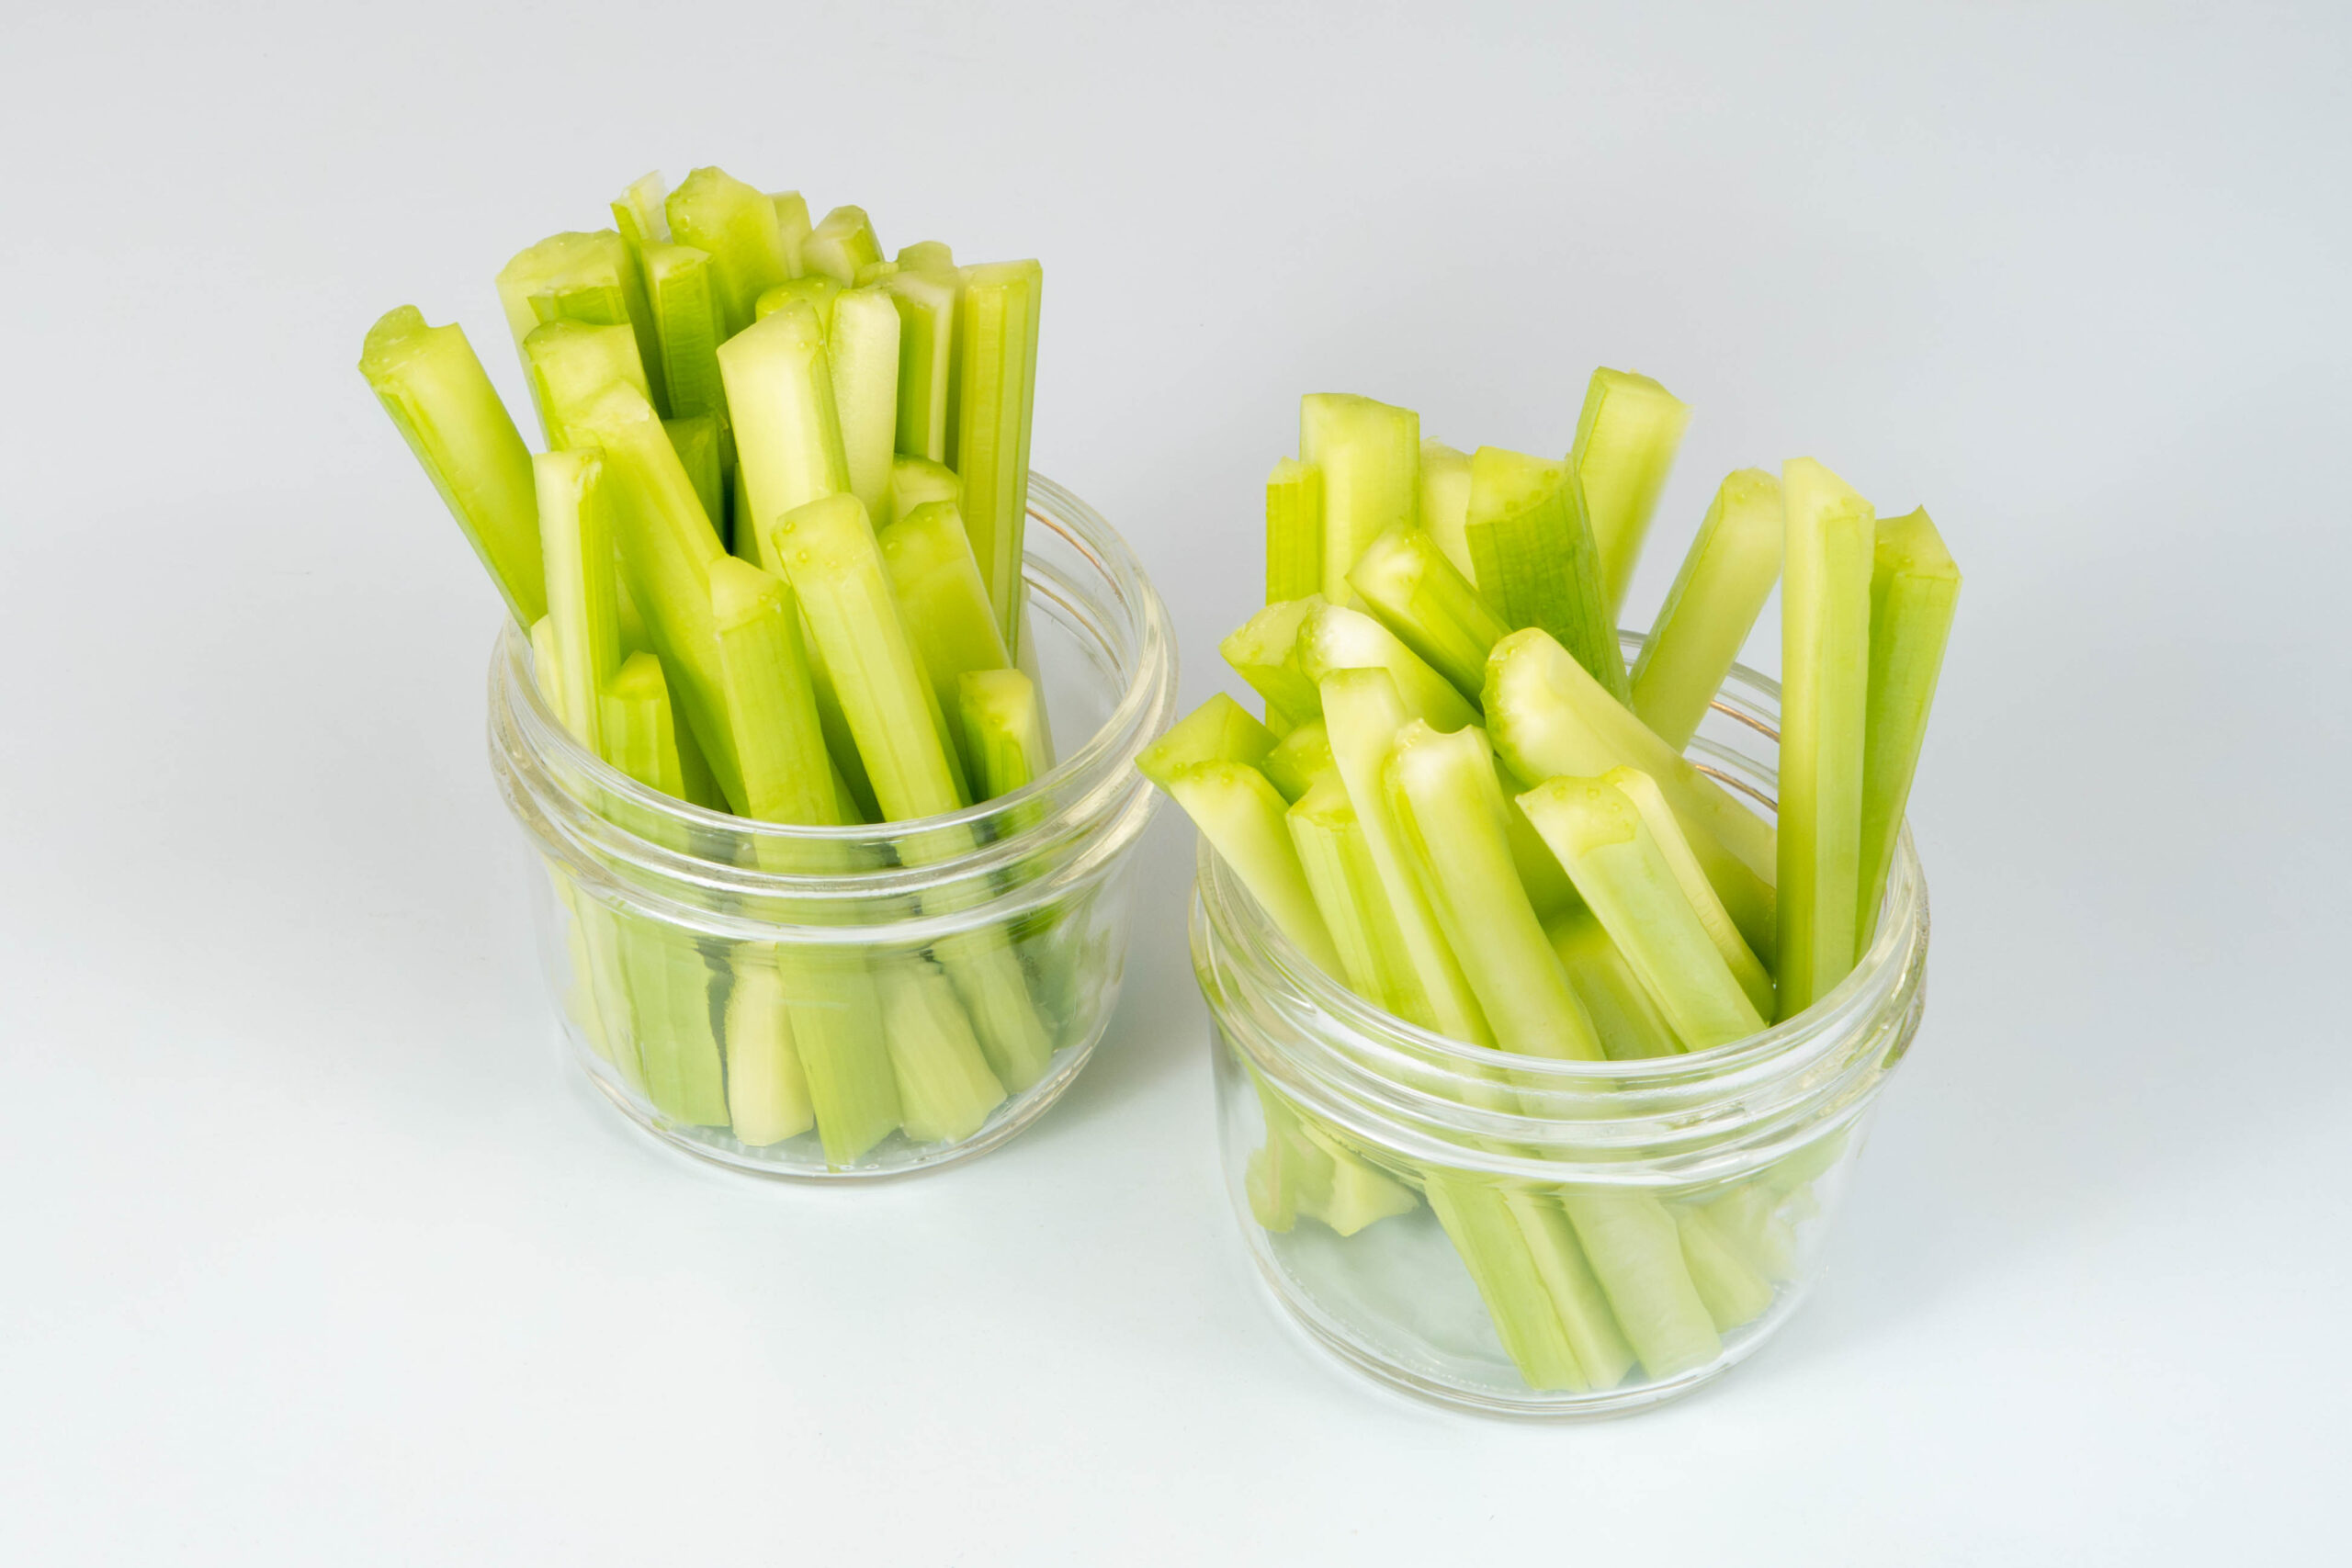
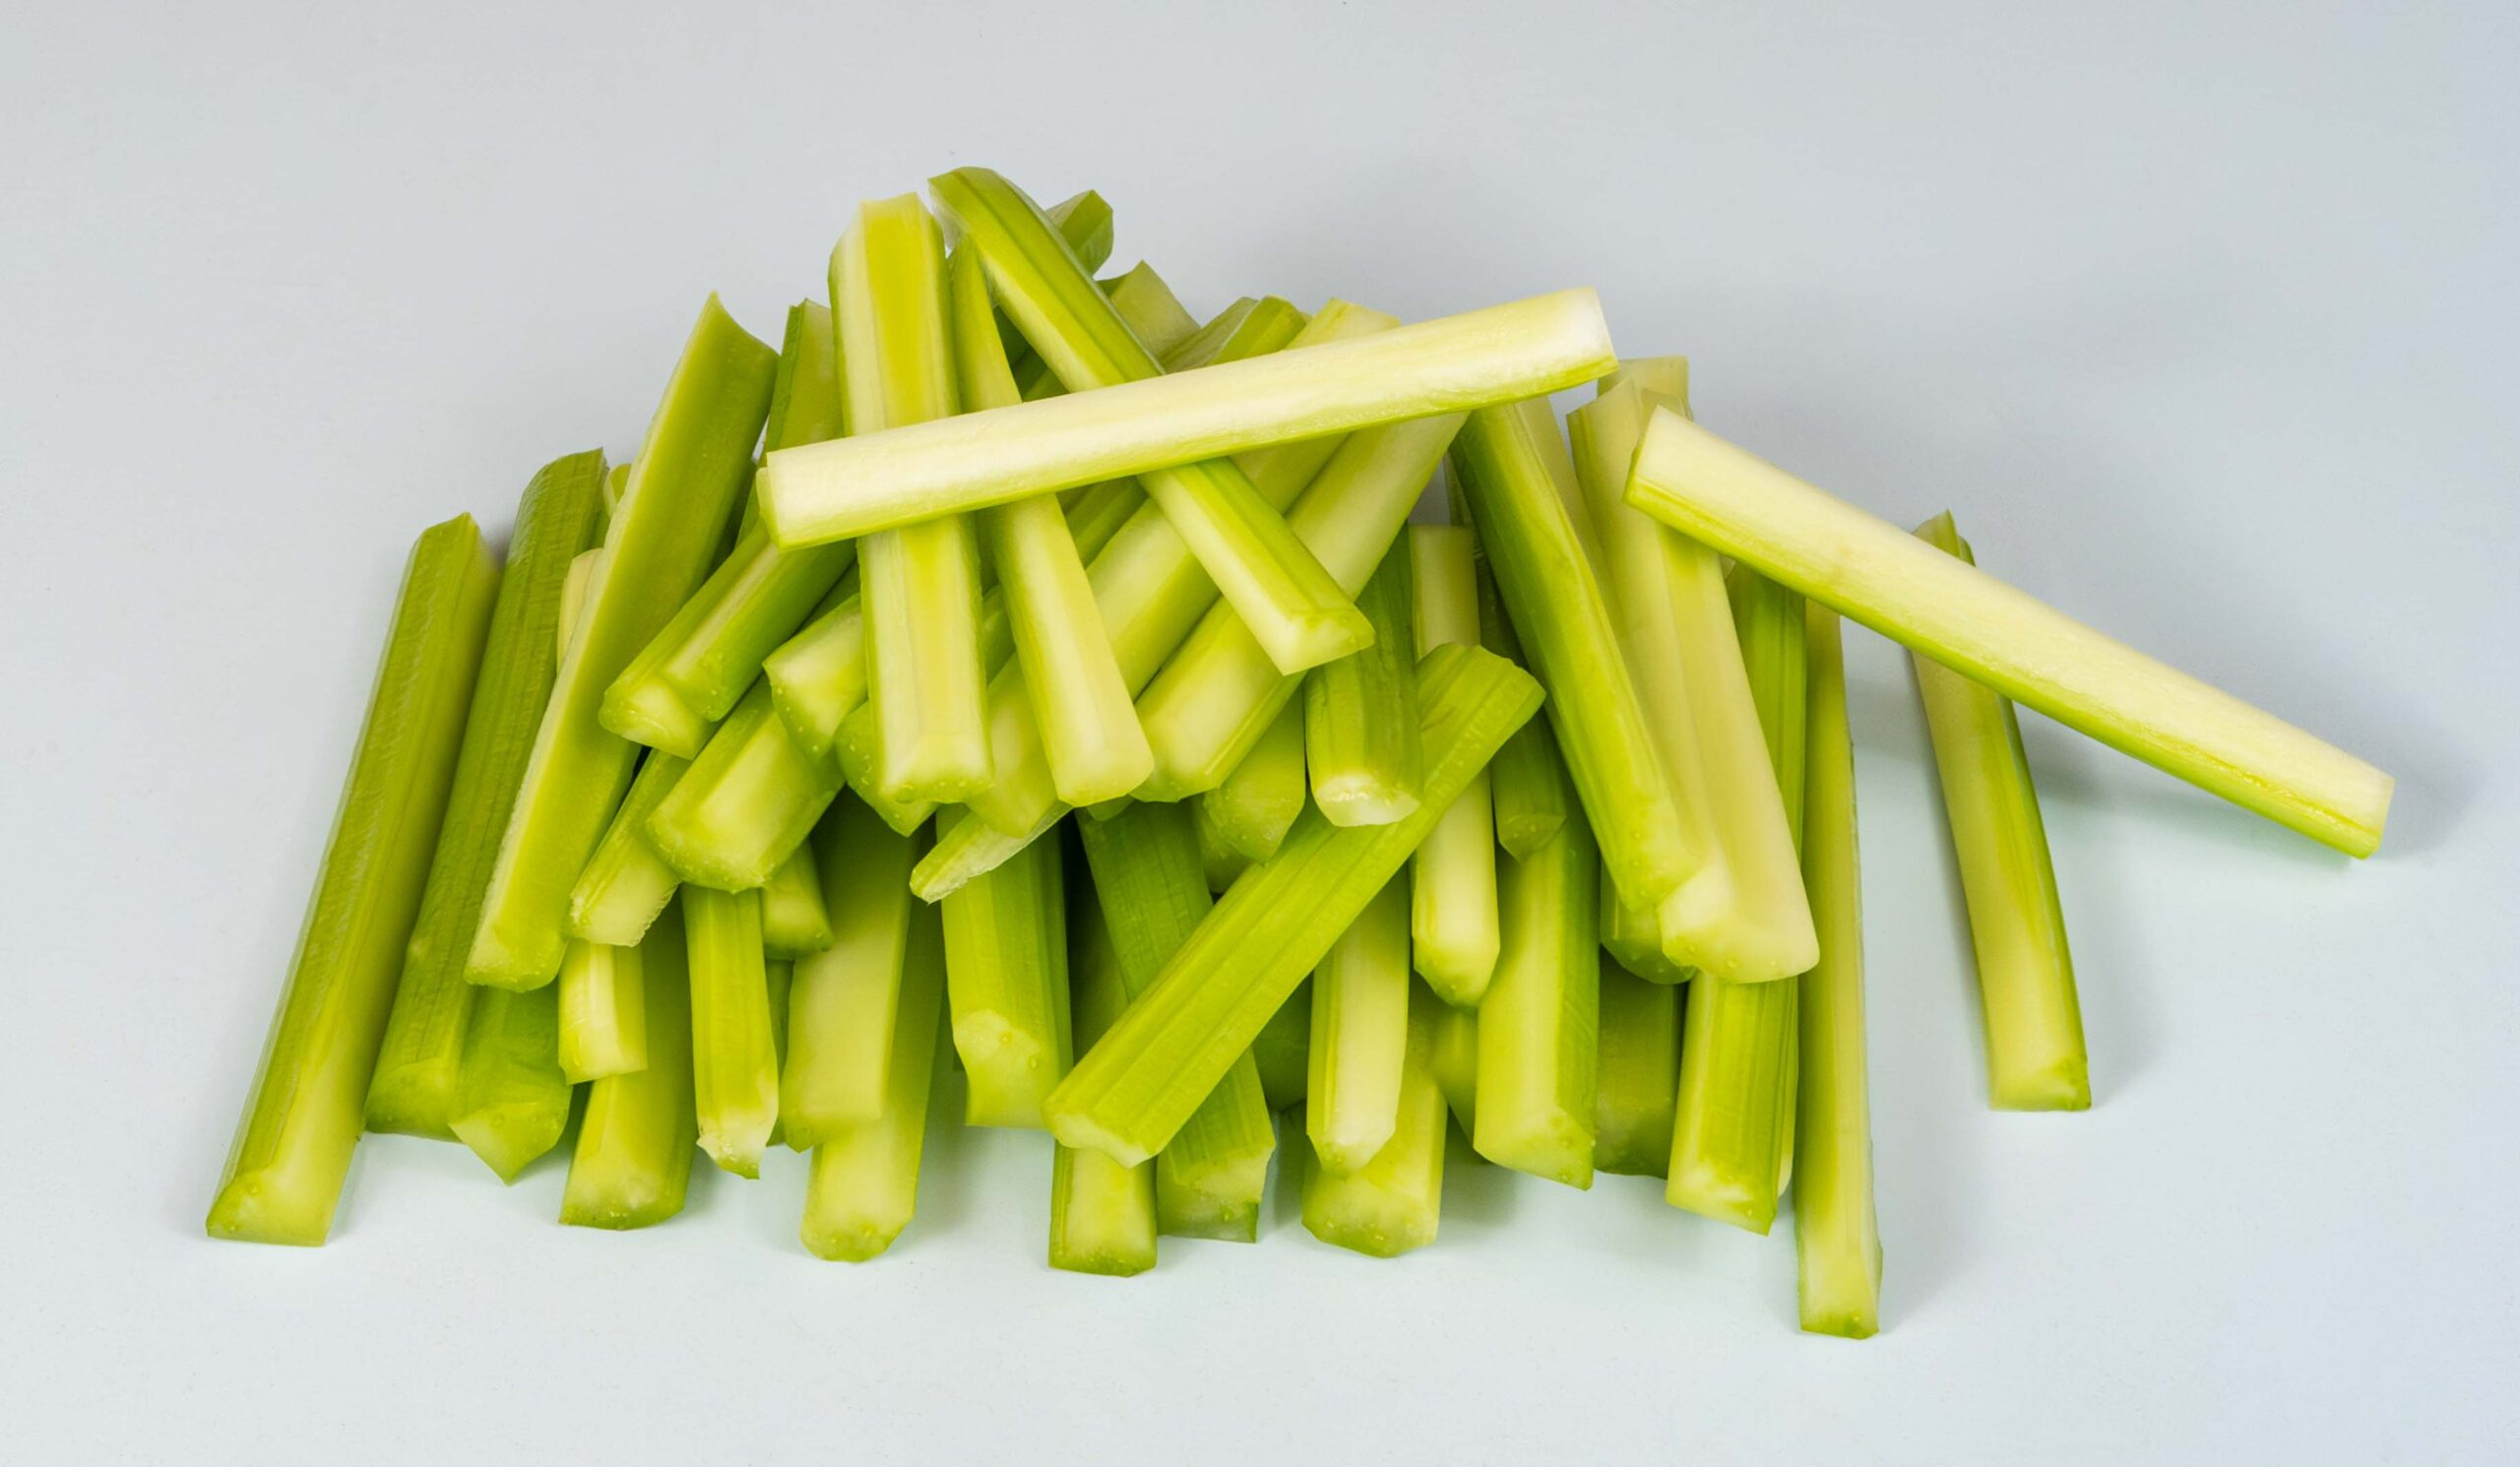
The remaining center section can usually be divided into 2 or 3 equal pieces. Some stalks are thick enough that you may want to divide them lengthwise too. Try to keep them uniform in size. About 3 to 5 inches is standard.

Sometimes the outer stalks have especially fibrous strings that some people find unpleasant. You may de-fibre the celery if you like, but it’s not done often in restaurants and I don’t think it’s necessary. Fiber is good for you, and taking it out is a pain. The only downside is you might be chewing it for a while.

There are different techniques for removing the fibers that are just a quick search away, but they are beyond the scope of this article.

Store: Store cut celery in cold water in the fridge. It will stay crisp for several days. When ready to use, drain and dry before serving.

Serving Celery With Buffalo Wings

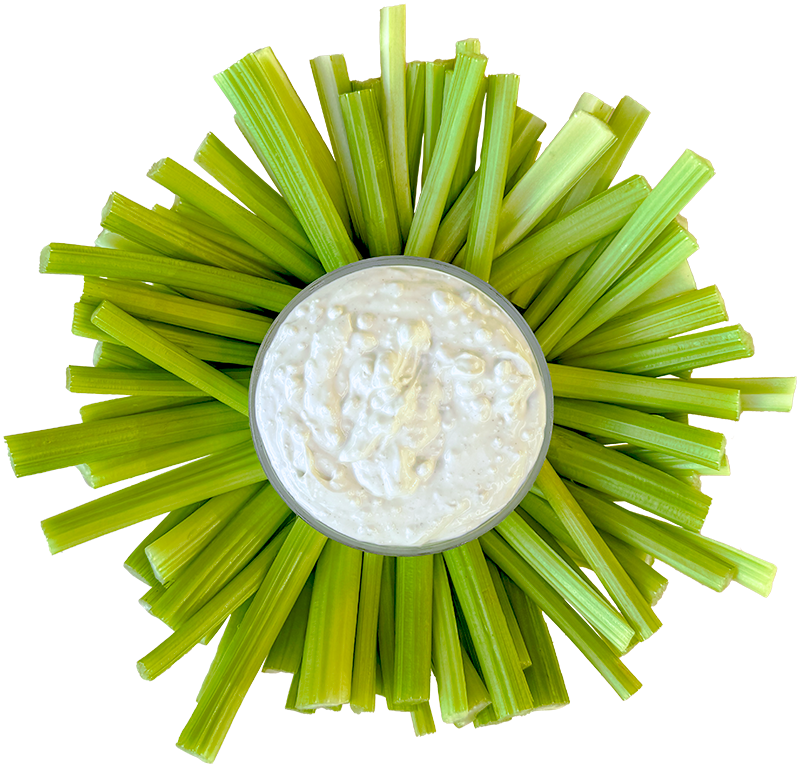
In a restaurant, celery is served on the plate alongside blue cheese dressing. When entertaining, I prefer to put the celery in its own serving dish on the table next to a container of blue cheese dressing. This way guests can snack on it as needed. I think it is best served cold straight from the fridge, so put it out as needed.

Celery sticks

Celery Sticks

Recipe by BuffWing.com
0.0 from 0 votes

Fresh, cold, crisp celery sticks provide the perfect contrast to spicy Buffalo wings and rich blue cheese dressing.

Course: Side DishCuisine: AmericanDifficulty: Very Easy
Servings
+
-

6

servings
Prep time

5

minutes
Cooking time

0

minutes

Ingredients

  • 1 Bunch Celery

Directions

  • Separate stalks: Cut the bottom off the bunch where the stalks meet.
  • Rinse: Rinse the stalks under cold running water.
  • Trim: Trim the stalks and remove any damaged sections. Cut off the wide flared end and the thin leafy ends so you are left with the uniform straight center.
  • Cut to length: Cut the remaining center section into pieces about 3 to 5 inches long.
  • Slice lengthwise if needed: If the stalks are thick, slice them lengthwise.
  • Store: Store cut celery in cold water in the fridge until ready to serve.
  • Serve: Drain and dry before serving.

Reviving Limp Celery

We've all been there. People will be arriving for the wing party soon, and you realize the celery is limp. Don't be embarrassed. This can happen to anyone, and it’s really not a big deal.

How to fix it:

It's really a matter of hydration. Cut off the dry ends and place the celery in cold water, then put it in the fridge for at least half an hour. Longer is usually better.

Final Thoughts

Fresh, cold, crisp, refreshing celery is the perfect contrast to Buffalo wings and helps bring balance to the plate. It is an important part of the Buffalo wing experience and should always be close by.

Serving Buffalo Wings

Serving Buffalo Wings

Serving Buffalo Wings

In other articles, we learned how to prep wings by thawing, dividing, seasoning, and drying them. We learned how to make blue cheese dressing, mix Buffalo wing hot sauce, and cut the celery sticks. The wings got fried and sauced. Now, it’s time to put all that on a plate and serve it up.

This is the final stage in the process of creating Buffalo wings.

Serving is often an underappreciated part of the process and I believe it is just as important as all steps leading up to it. No matter how much effort you put into the prep and the fry, if serving isn't done properly, the wings will never reach their full potential.

What to Serve with Buffalo Wings

Buffalo wings are a very casual and social food. If they could talk they would say something like, “With us, there are no rules. Relax and eat how you want. No one will judge and if they do, @#$! them.” We eat them with our fingers, and while they can be served many ways, they are best paired with other foods that are just as easy to share. And I think that is perfect.

Growing up, it was common on a Friday night for my parents to order wings. But it usually wasn't just wings; it was wings, pizza, and a couple of 2-liter bottles of pop (what we call soda in Buffalo). This combo was so standard that most local joints sold specific combo packages—like a mini pack, family pack, or party pack—grouping different sizes of pizza, wings, and soda together. Great memories.

Later, as I got older, I saw this same theme repeated at just about every kind of event imaginable, including Bills tailgates, birthdays, and last-minute get-togethers. Someone would get a large order of wings and pizza, supplementing the feast with chips, dips, and other snacks spread across the tables. Everything was laid out casually so people could pick at it throughout the day or night. It crossed all social borders and brought people together through a common love of Buffalo wings and other foods.

After college, I moved to California for work and, though I didn't realize it at the time, I continued the tradition by hosting wing parties myself. Because we were no longer in Buffalo and proper wings were unavailable, I learned how to fry them, but it was always a team effort. Friends would bring their favorite snacky foods, sometimes we would order the best pizza we could find, and other times we would make it from scratch. We always made sure the table was filled with dips, chips, and other food everyone could casually share and snack on throughout the night.

Blue Cheese Dressing and Celery

Buffalo wings should always be served with blue cheese dressing and celery sticks. These should be prepared long before cooking so they are ready and waiting before the wings hit the platter.

The cool, flavorful blue cheese dressing balances the spice of the sauce while also literally cooling the wings down enough to comfortably eat while they are still scalding hot. The crisp celery serves as a refreshing palate cleanser between wings.

Together, they are part of the full Buffalo wing experience and not just something extra on the side.

Chips, Dips, and Snacks

Like Buffalo wings, chips, dips, and snacks are meant to be shared. They sit out for people to pick at while talking, watching the game, drinking beer (or pop), and waiting for the next batch of wings to come out of the fryer.

Potato chips and dip are a staple of Buffalo gatherings. More specifically, Bison French Onion Dip and plain potato chips. If there is one snack that belongs on the table, this is it.

There is something about it and I don't know exactly what it is, possibly the MSG, but as a kid, I got in trouble for eating all the Bison Dip, many times.

If you never lived in Western New York, you may not understand the joy of Bison Dip. Like Buffalo wings, I grew up assuming it was available everywhere. It wasn't until I moved away that I discovered both were surprisingly difficult to find outside of Western New York.

I still remember walking into a California pizza shop and realizing they didn't sell Buffalo wings. Finding out that Bison Dip was missing from the grocery store dairy section was just as shocking. No good substitutes either.

Pizza

In Buffalo, pizza is just as much a part of the culture as Buffalo wings. In fact, where do you buy wings in Buffalo? Usually at a pizza place. And there are a lot of pizza places. There is such a thing as Buffalo style pizza and, though I struggle to define it, I know it when I taste it.

It is really good, and cup and char pepperoni is a delight that many people outside of Western New York have never experienced but should. It is one of those things I still have my mom send me every year or so in a USPS flat rate box full of pepperoni.

Though I don't have pizza with my wings every time, I wish I could. They work really well together.

Drinks

Drinks that go with Buffalo wings deserve their own article, and someday they will get one. For now, you can’t go wrong with cold beer and soda.

Beer: In Buffalo, in addition to the expected domestic stuff and endless microbrews, there is Genny Cream Ale, a Rochester classic that I haven’t seen outside of Western New York. Being right across the Niagara River from Canada, Canadian beers such as Labatt and Molson are popular and heavily advertised.

Pop (soda): The same pops are available in Buffalo as everywhere else in the US, but two are worth mentioning. The first is Loganberry. It is not technically pop because it's not carbonated, but it can often be found in cans and 2 liter bottles, and it is a local favorite. The second is Pepsi. I know, not exactly a unique or hard to find drink, but Buffalo and Western New York are one of the few regions in the United States where Pepsi outsells Coke, and not by a little. For decades, Pepsi has reportedly outsold Coke there by nearly 2 to 1, more than anywhere else in the country.

The Art of Serving Buffalo Wings

I enjoy cooking Buffalo wings for friends and have always enjoyed hosting get togethers. No matter where I am, how many people I am serving, or who those people are, I use the same serving method. This works whether I'm hosting a cookout, a birthday party, or just dinner with the family.

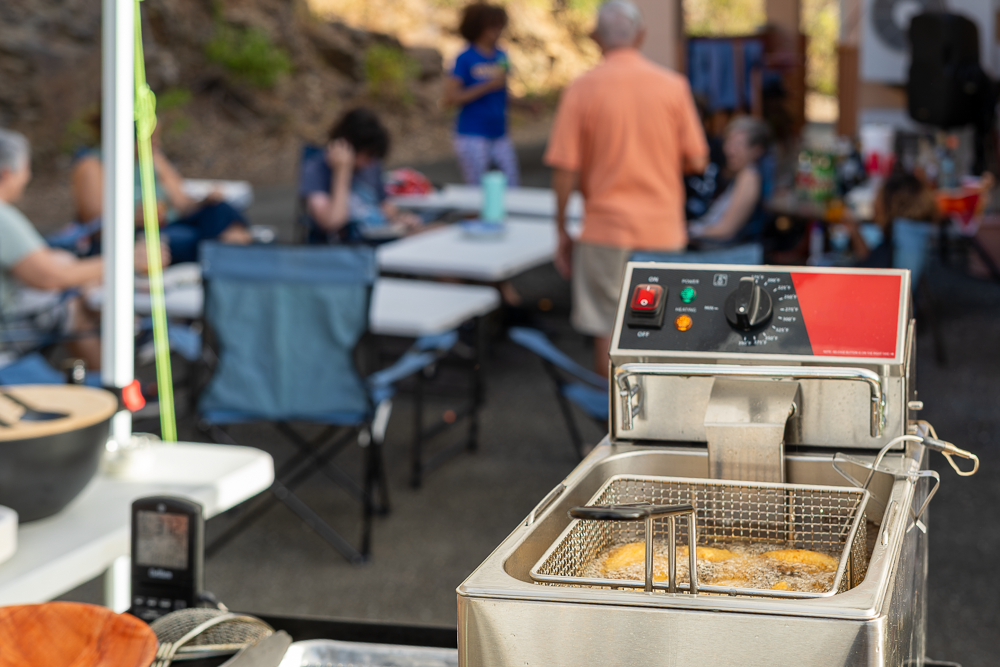
In most situations, Buffalo wings are best served more like a party than a sit down dinner. They are eaten standing around the kitchen, out on the patio, or wherever people naturally gather while the cooking is happening. One person might be frying while someone else sauces the wings, refills the blue cheese and celery, manages the trash, or keeps the cat away from the bones. Wings come out in small batches and get eaten while they are still hot and crispy. It becomes less about sitting down to a plated meal and more about participating in the experience together.

Buffalo wings are best served hot, fresh, and crispy. Crispiness fades quickly after saucing, and wings should not be allowed to sit too long before eating. The key to serving the best possible wings is speed: fry, sauce, plate, serve, eat. No need to rush. Rushing near a fryer can be dangerous. Just have everything organized and ready to go. The speed will come naturally.

When serving a large group of people, it is impossible to make enough wings for everyone to eat at the exact same time with a normal home style fryer. Doing it this way could take hours and leave many of the wings cold and crispless. A better way is to plate the wings as soon as they are ready and set them in a central location where they can be easily grabbed. They will go quickly and still be hot and crispy when people eat them.

The BackYard & Kitchen Pary Setup

Whenever I host a Buffalo wing event, I do my best to create a situation where I can comfortably cook while still being part of the party. I do this by carefully considering where I will be preparing the food and where people will be gathering. Organizing and fully prepping ahead of time allows me to do it all while still having fun.

The following checklists cover most of the things I do before and during a Buffalo wing event.

Food Prep Checklist

  • Blue cheese dressing
  • Buffalo wing sauce or sauces
  • Celery cut up
  • Chicken wings
    • Prep wings: Defrosted, separated, seasoned, and dried
    • Optional: Par cook wings ahead of time to speed up the serving process

Setup Checklist

  • Set the fryer up in a stable and secure location that is protected from unknown variables such as children, pets and intoxicated humans.
  • Lay out any tools needed. Some of the more important ones include tongs to move hot wings around, a rack to drain wings, a bowl for tossing wings, and a stack of cotton bar towels.
  • Keep clean and preferably warm serving plates ready to go. If available, a low oven works well for this. Optional, but highly recommended.
  • Organize the serving area to make self serving easy with plates, paper towels, blue cheese dressing, celery, and any other snacks.
  • Keep drinks in an out of the way place where people can serve themselves, typically a cooler of ice with beers and pop.

Party Management Checklist

  • Keep the serving area clean, organized, and clutter free.
  • Place napkins or paper towels in multiple, easy to find, locations.
  • Keep lots of extra blue cheese dressing and celery in the fridge where anyone can find it and refill serving dishes as needed.
  • Keep a garbage can visible and close to where people will be eating.
  • Be sure to keep plenty of hand soap next to kitchen and bathroom sinks.

Serving Checklist

  • Be sure blue cheese dressing and celery are ready and available before the wings are ready.
  • Serve wings immediately after saucing.
  • Put each fresh batch of wings onto a clean and warm serving plate or tray.
  • Serve wings where they can be easily grabbed.
  • Keep wooden bowls available for bones and empty them often.

The Restaurant Style Presentation

If you want to plate Buffalo wings like they do in a restaurant, start with a clean, warm plate. Add a tub of blue cheese dressing and celery to one side of the plate before the wings are ready. Once the wings are hot and sauced, use tongs to quickly pile them next to the celery and blue cheese dressing. Place a wooden bowl upside down over the wings and serve immediately.

Final Thoughts

Using the above serving guidelines will help ensure that you and your guests are eating Buffalo wings that are spicy, hot, crispy, and served with blue cheese dressing and celery. Just the way Buffalo wings should be.